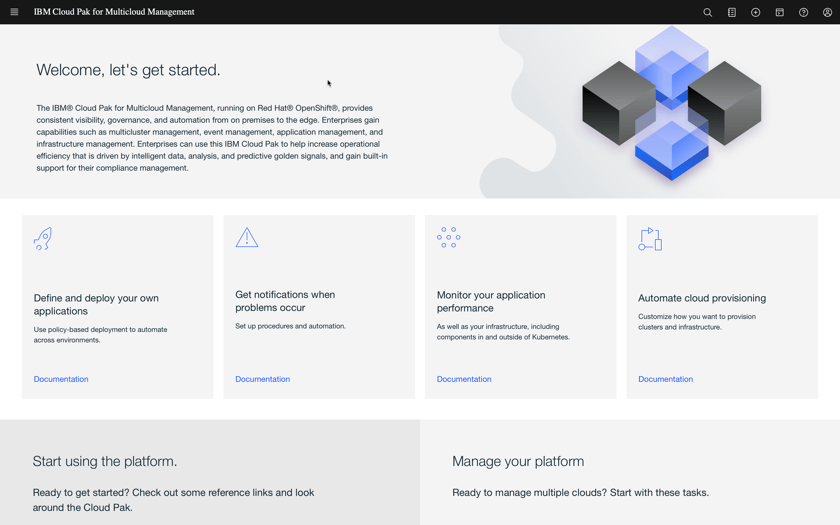
Installing Cloud Pak for MCM
Now that you have a ROKS cluster, you need to install manually the Cloud Pak for Multicloud Management. Let’s do it!
Login to https://cloud.ibm.com/catalog if you have not already
From the Catalog, select Cloud Pak for Multicloud Management

Select the Redhat Openshift Cluster that you just created from the list. The DTE provisioned cluster name starts with dteroks or playgrowth. Select kube-system as project name.
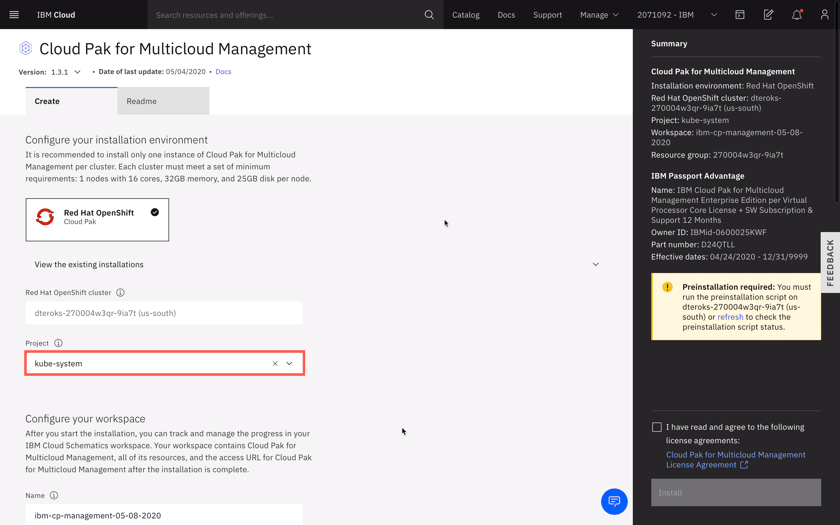
You must run the preinstallation script before you install the Cloud Pak. There is no need to modify the content of the script, simply click on Run Script to complete the pre-installation step.
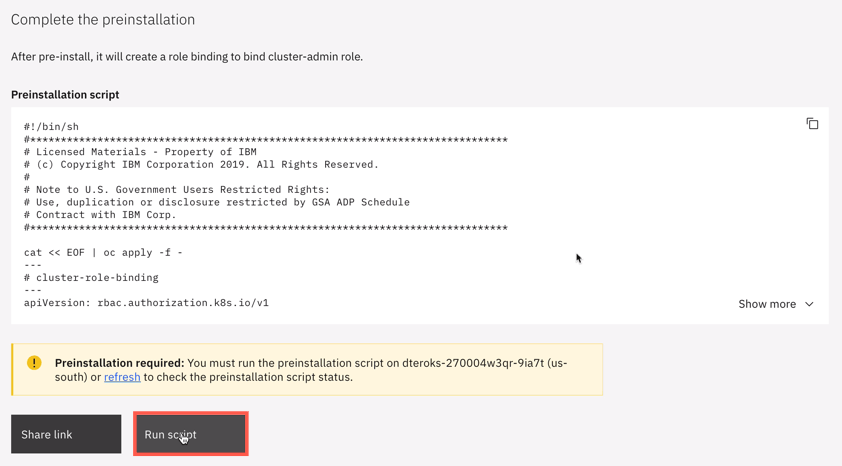
Once the pre-installation step is complete, you may proceed with the installation.

Enter a value for defaultAdminPassword. It is important that you choose a password that is 32 characters in length and conforms to the password rule: include only numbers, letters or ’-‘.

Accept license agreement and click Install to install Cloud Pak for Multicloud Management. The installation takes about 30 minutes.
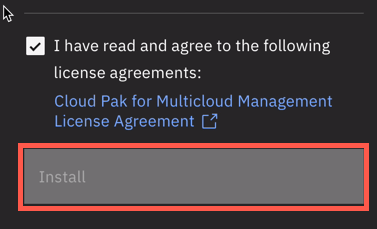
You can track the deployment on the Schematics workspace that opens.

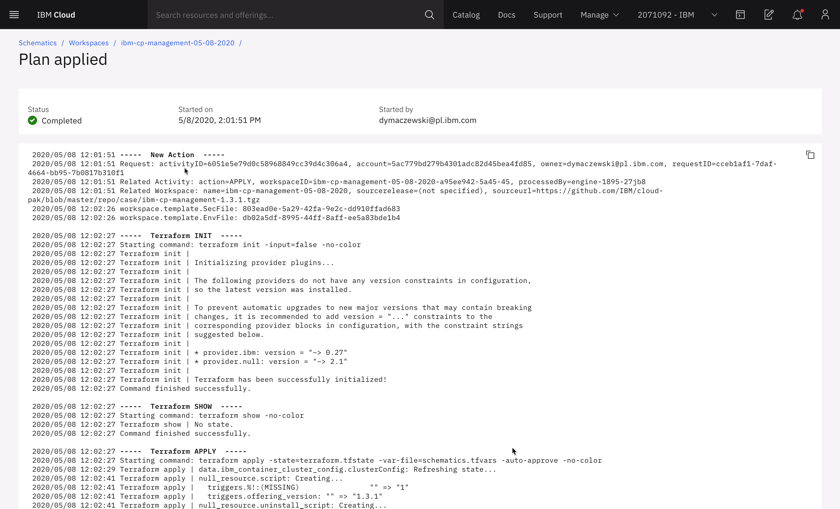
Your cluster domain can be found in multiple places, for example at the end of installation log file.

However the easiest way is to click Offering dashboard at the top of the Schematics workspace

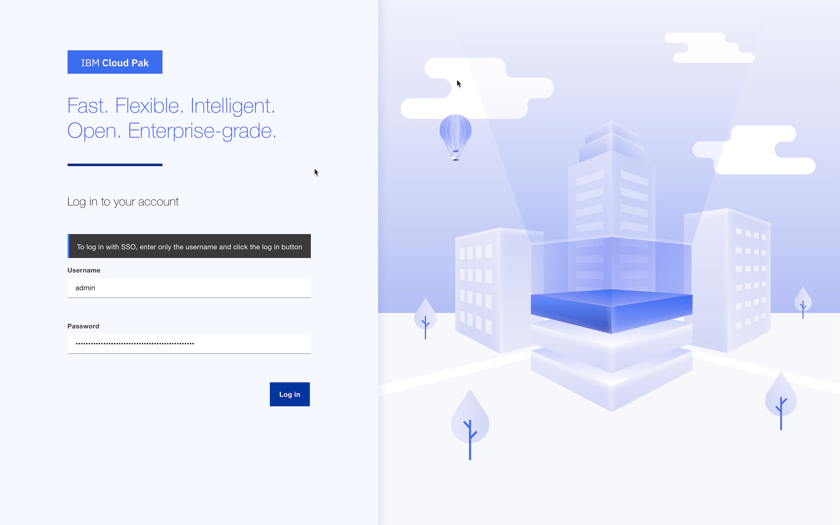
Login to Cloud Pak interface using icp-console.yourcluster-domain-name. Provide admin and the password that you specified in step 6 above.
You have successfully completed cluster provisioning, Cloud Pak for Multicloud Management installation. You are ready to proceed to tutorials that use Cloud Pak for Multicloud Management on ROKS, or install other tools if desired.
