API Lifecycle Lab - Manage GraphQL API
- Lab Overview
- Prerequisites
- Business Context
- Create a GraphQL Proxy API
- Edit and Test API
- Create a Product and apply GraphQL RateLimits
- Explore the API from Developer Portal
- Summary
Author(s): Ravi Katikala
Last updated: May 2021
Duration: 45 mins
Need support? Contact Rafael Osorio
Lab Overview
In this tutorial, you use the IBM Cloud Pak for Integration 2021.1.1 to define GraphQL APIs that proxy to a backend GraphQL server. GraphQL is a query language for APIs that gives an application client greater control over what data it retrieves in an API request when compared with a REST API request.
API Connect GraphQL support also allows rate limiting and other controls using API Gateway.
In this tutorial, you will explore the following key capabilities:
- Create a GraphQL Proxy API
- Learn about GraphQL introspection and Schema Editor
- Test APIs by using the built-in GraphQL editor
- Review API Assembly Policies for the cost end point
Prerequisites
- You need to have your personal CP4I on ROKS environment. Check here how to request it
Business Context
As a developer, you are having problems to manage the use of GraphQL APIs in your company.
GraphQL provides the following particular advantages over REST APIs:
- The application client can request only the data that it needs. For example, when retrieving bank account records, request only the account number and current balance for each account, but not the customer name and address details. With a REST API request, either the backend REST service must provide separate endpoints for different data subsets, or the application client must retrieve the complete records and then discard the unwanted data.
- The application client can retrieve multiple related resources in a single request. For example, a customer’s bank account record might include an array that references other finance products that the customer holds. If an application client wants to retrieve the bank account details for a specific customer, and details of the other finance products for that customer, then with a REST API the client would first retrieve the bank account details, then make separate requests for each of the other products. A GraphQL API can be designed to allow the client to retrieve all this information in a single request.
However, this flexibility presents rate limiting challenges, because two seemingly very similar requests might return vastly different amounts of data, and what might have required multiple REST API requests, each counting towards the rate limit, might require only a single GraphQL API request. It is important therefore that rate limiting controls are imposed that reflect the amount of data that is retrieved.
Cloud Pak for Integration API Connect enables you to create a GraphQL API proxy definition that proxies a backend GraphQL server. API Connect extends the GraphQL standard by providing, in a GraphQL API definition, the ability to configure a range of settings that are used to calculate the complexity of a GraphQL request and an associated cost that counts towards the rate limit.
Create a GraphQL Proxy API
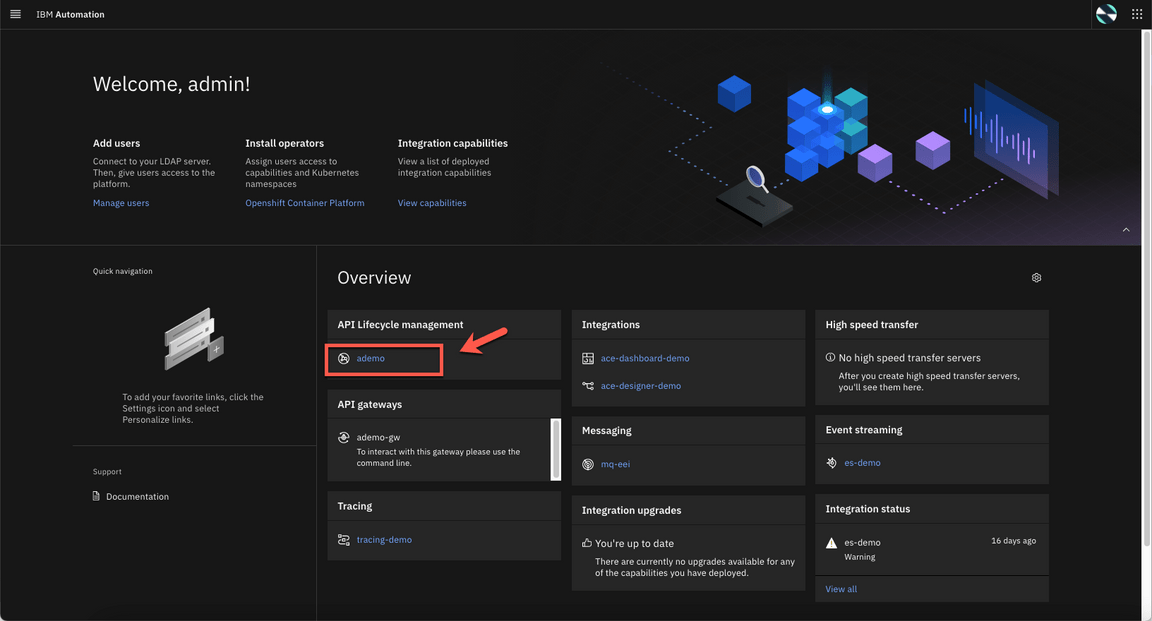
1.Open a browser and go to your Cloud Pak for Integration Platform Navigation. On the API Lifecycle management box, click to open your API Connect Runtime.
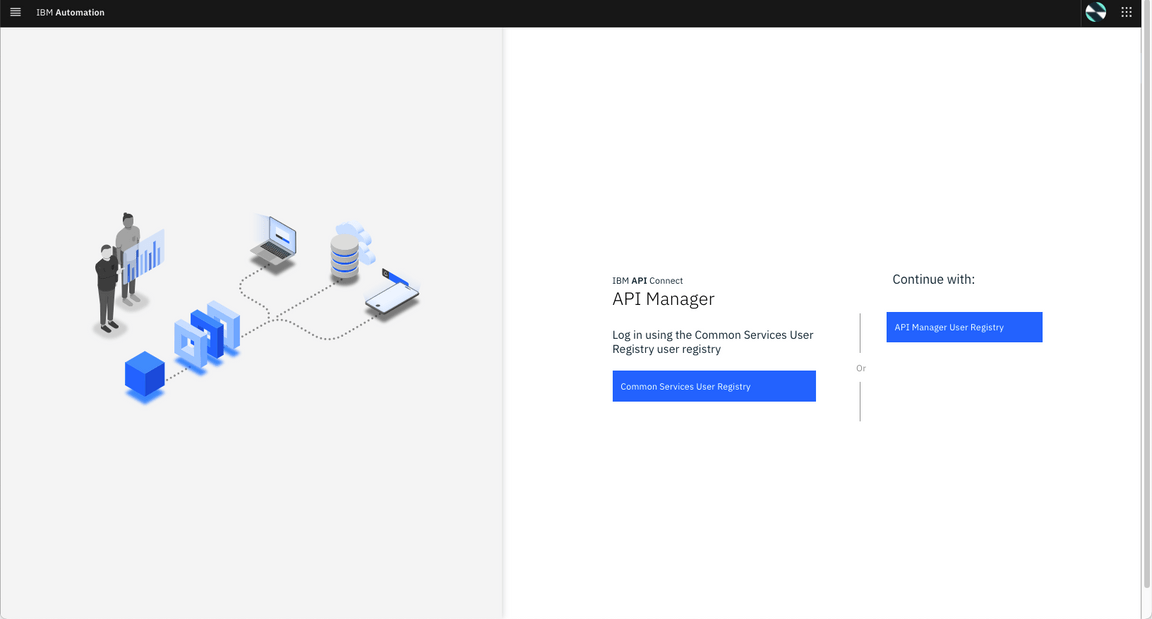
2.On the Log In page, if you are using admin user, select Common Services User Registry. But if you are using LDAP users, you need to select your LDAP User Registry on the right side. Go ahead and log in.
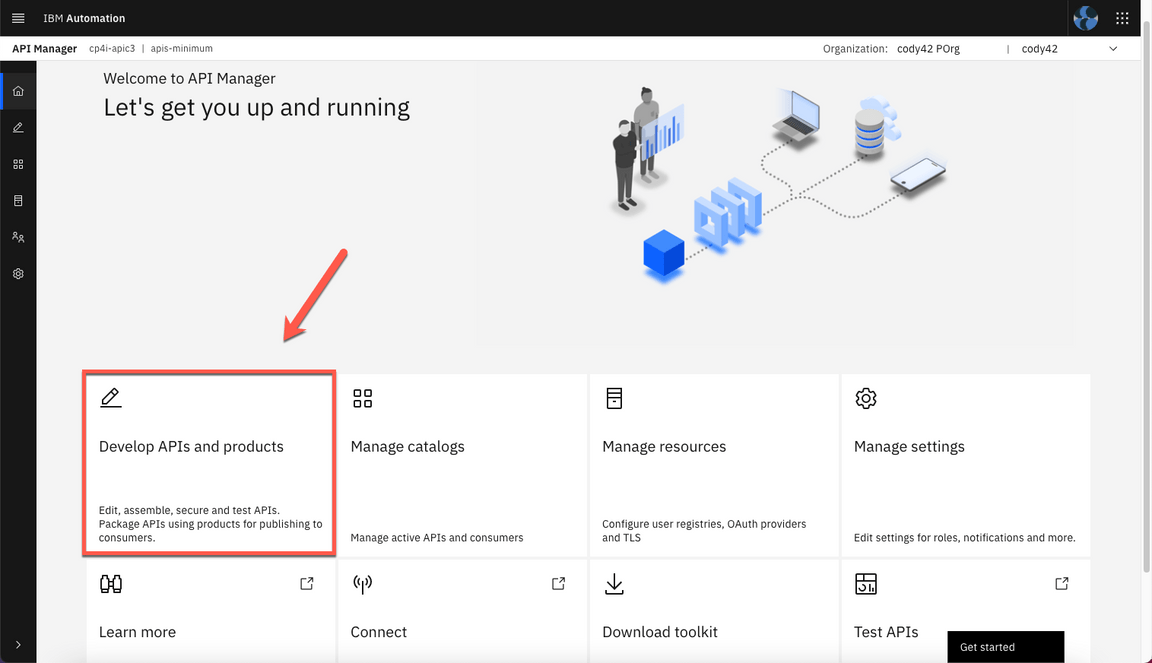
3.Select Develop APIs and products.
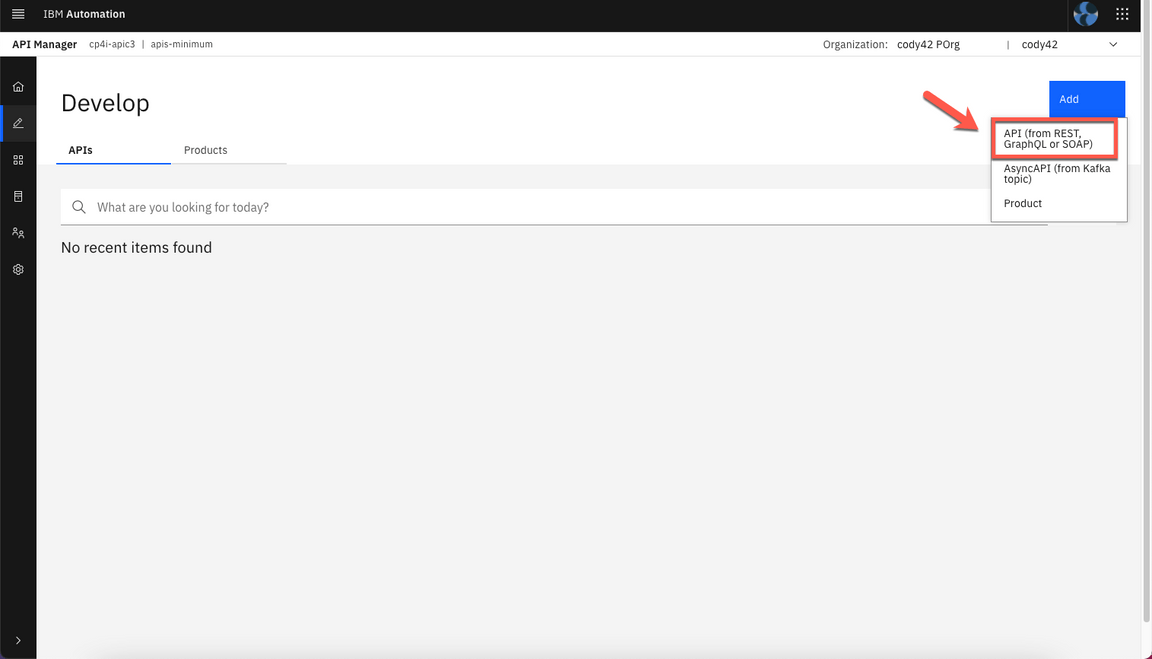
Then click Add->API (from REST, GraphQL or SOAP).
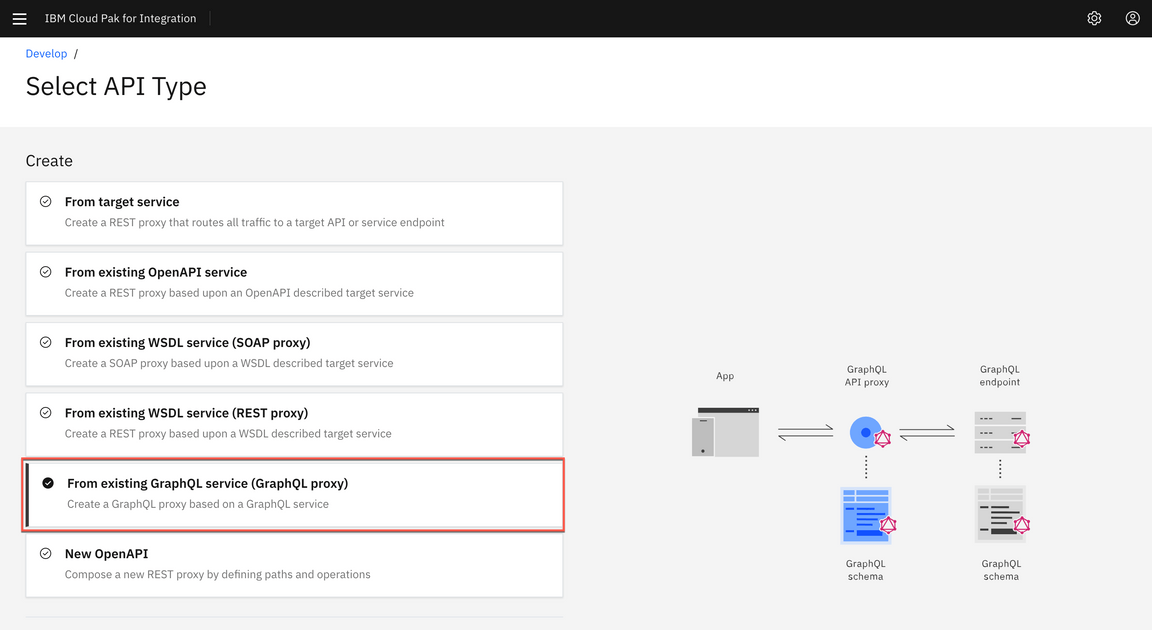
4.To create a GraphQL proxy, select From Existing GraphQL service (GraphQL proxy). When you point to an existing GraphQL server, API Connect introspects the service and automatically creates a GraphQL proxy service.
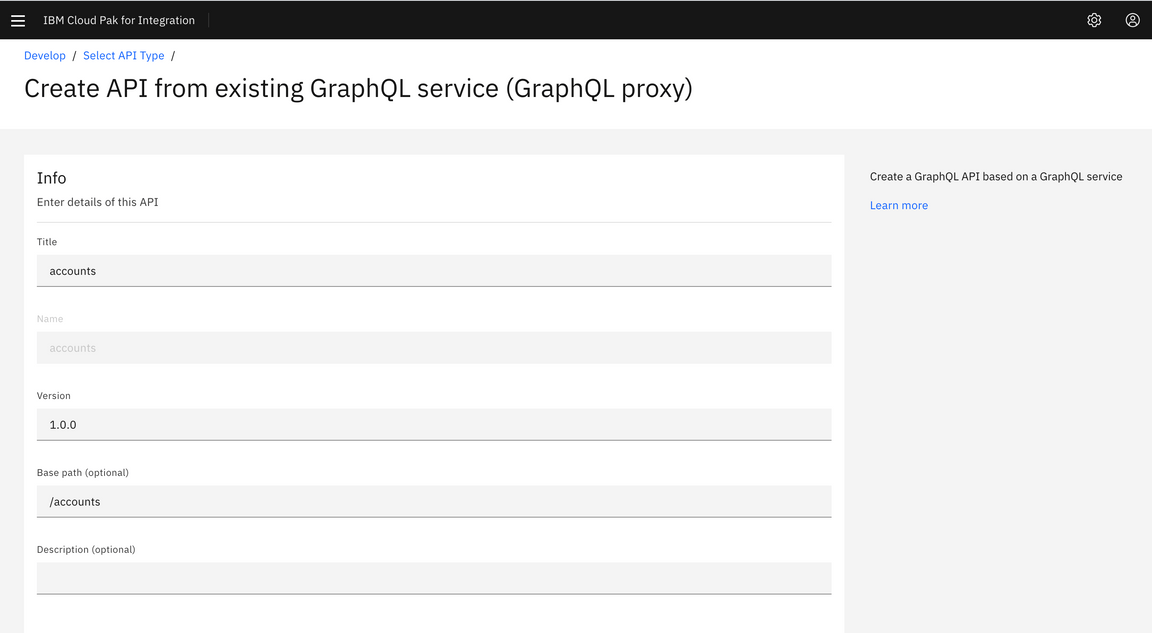
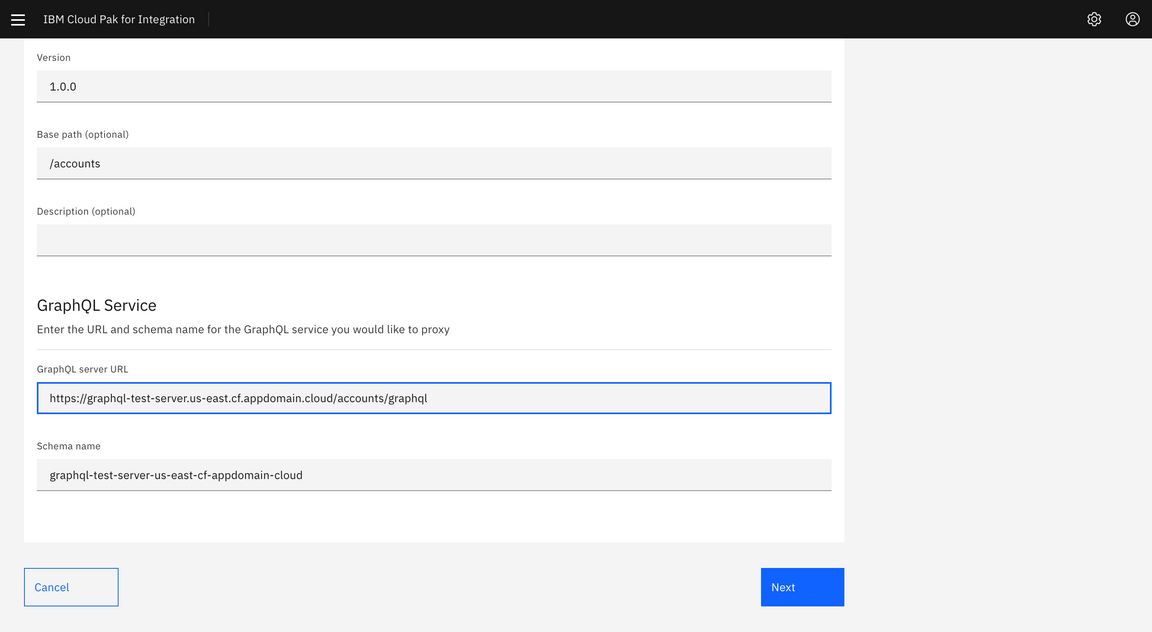
5.Enter the following values and click Next. You can use default values for the rest.
Title: accounts
GraphQL server URL: https://graphql-test-server.us-east.cf.appdomain.cloud/accounts/graphql
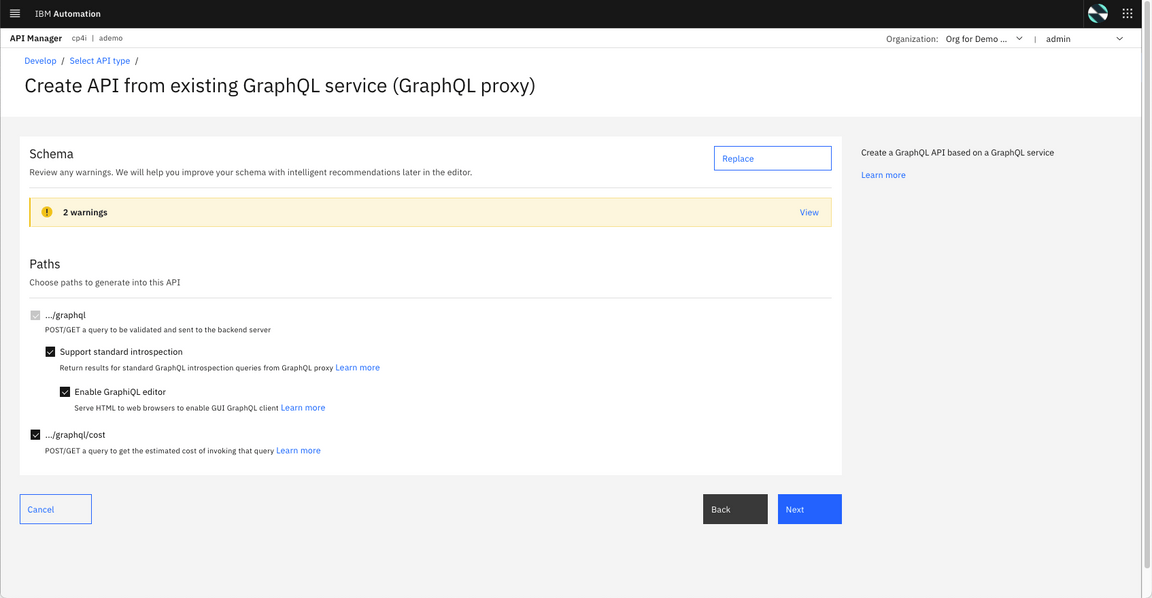
6.In the Paths section, select all the available end points.
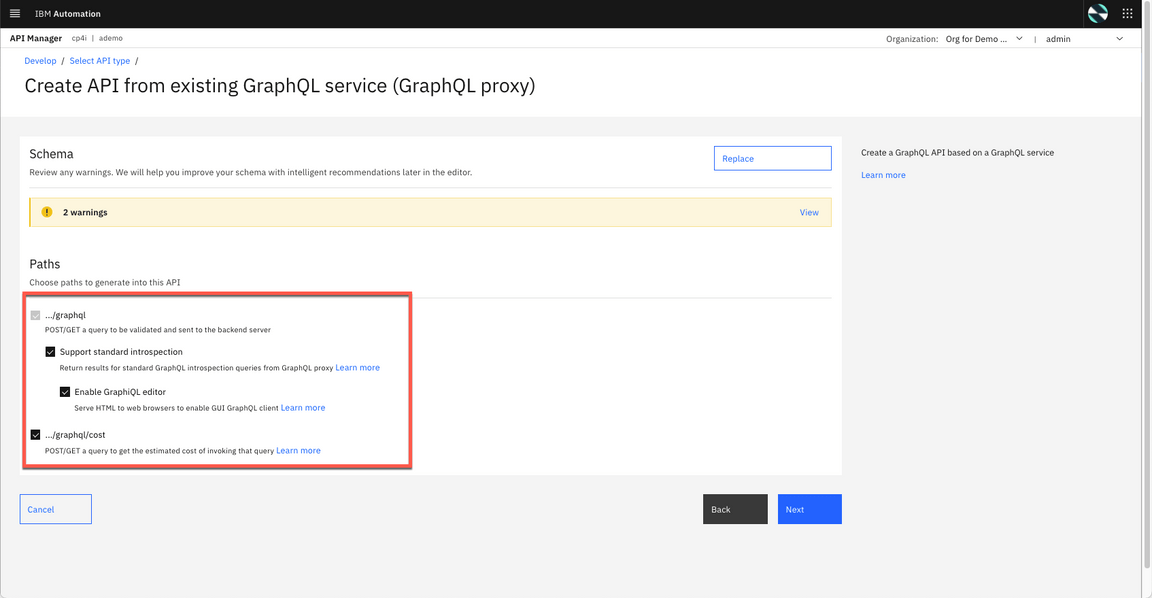
7.The schema validator reports warning and errors if found. There are two warnings in the accounts schema. Click View to get the Warning details. A review of the schema shows that no limit is set on the size of the list. You will fix this warning in later steps. Click Next to continue.

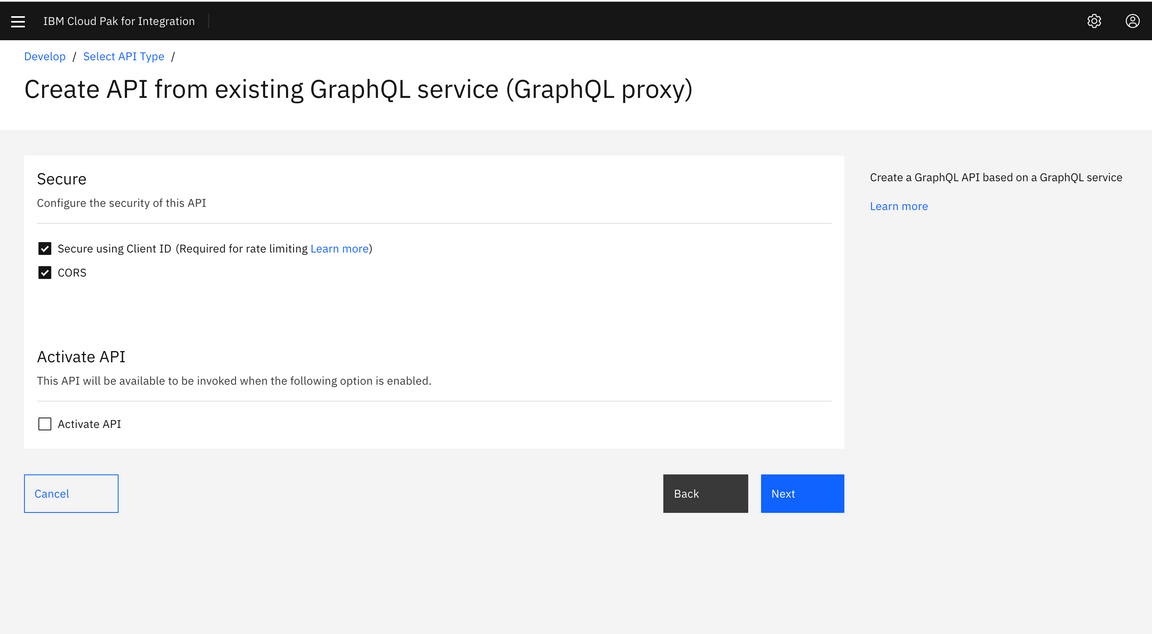
8.Keep both Secure using Client ID and CORS checked and click Next.
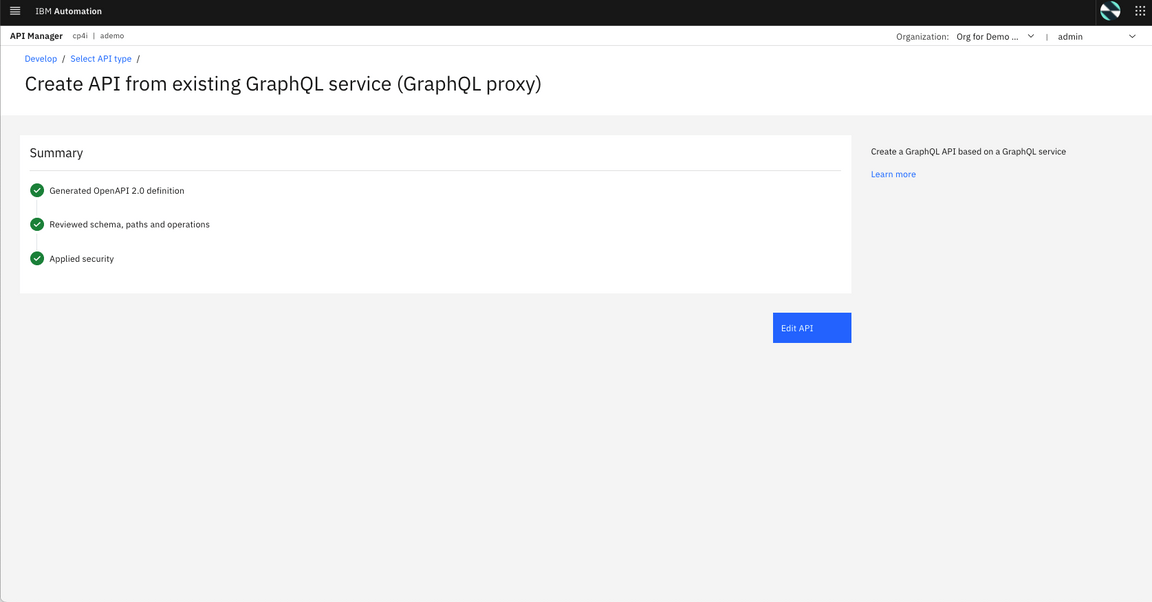
9.API Connect successfully created a GraphQL proxy API.
Edit and Test API
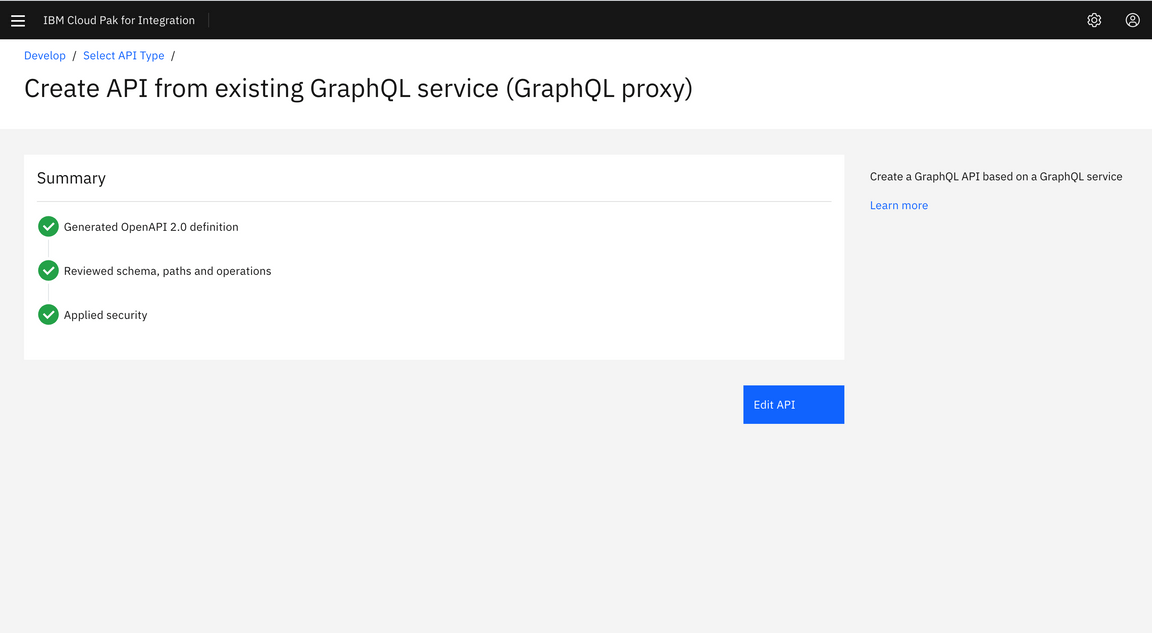
1.Now, let’s edit the API to view more details on the proxy API just created. Click Edit API to continue.
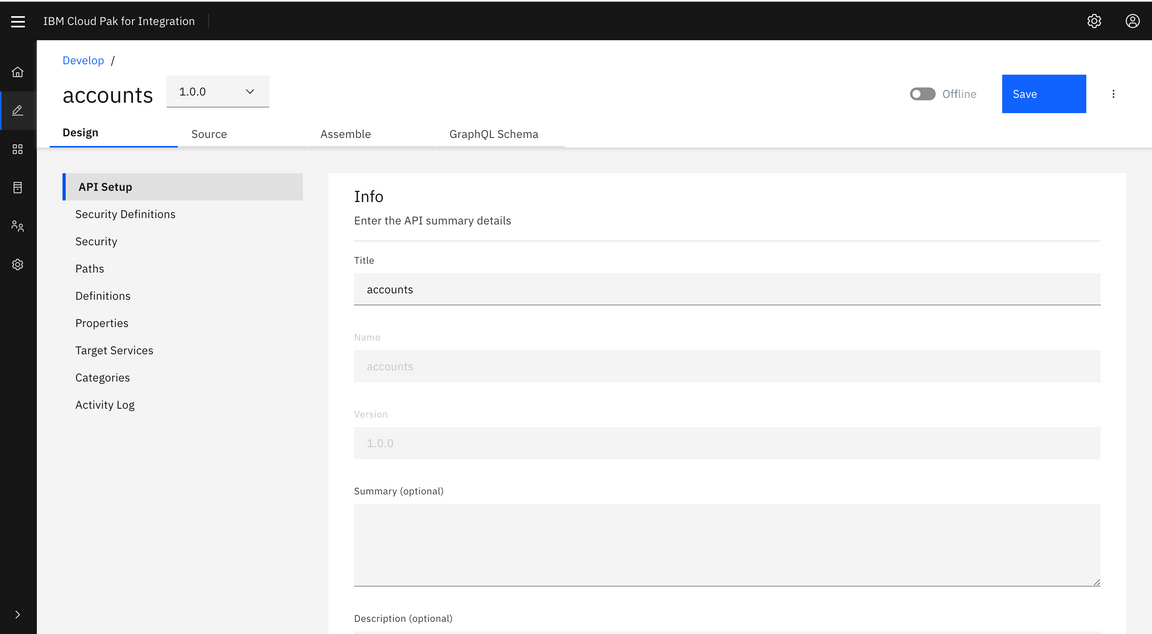
2.GraphQL APIs are structured the same as REST APIs with some additional options. Just like REST APIs, you will be able to add security definitions, properties and Activity logs from the left menu bar. You can also view the Source and Assemble tabs similar to REST APIs. You will notice a new tab for GraphQL APIs. Click on GraphQL Schema tab to view the schema.
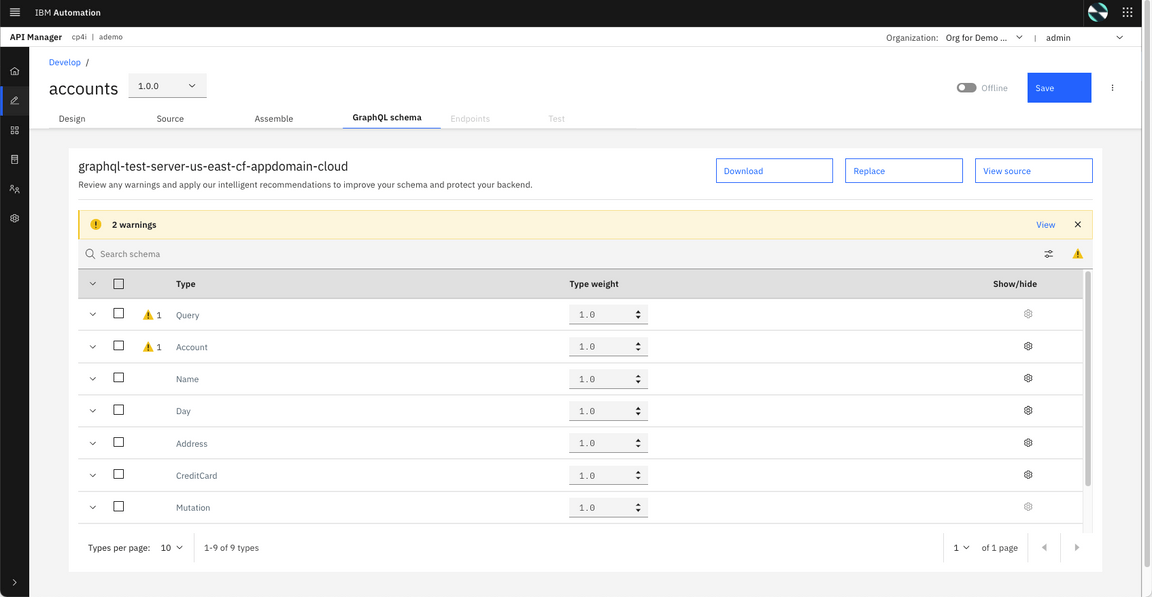
3.GraphQL Schema editor displays Type and Type Weight information. The weighting factor is used when calculating the type cost for a request to the GraphQL API. For example, a field that requires extensive CPU or memory use on the server to retrieve its value would be given a higher cost.
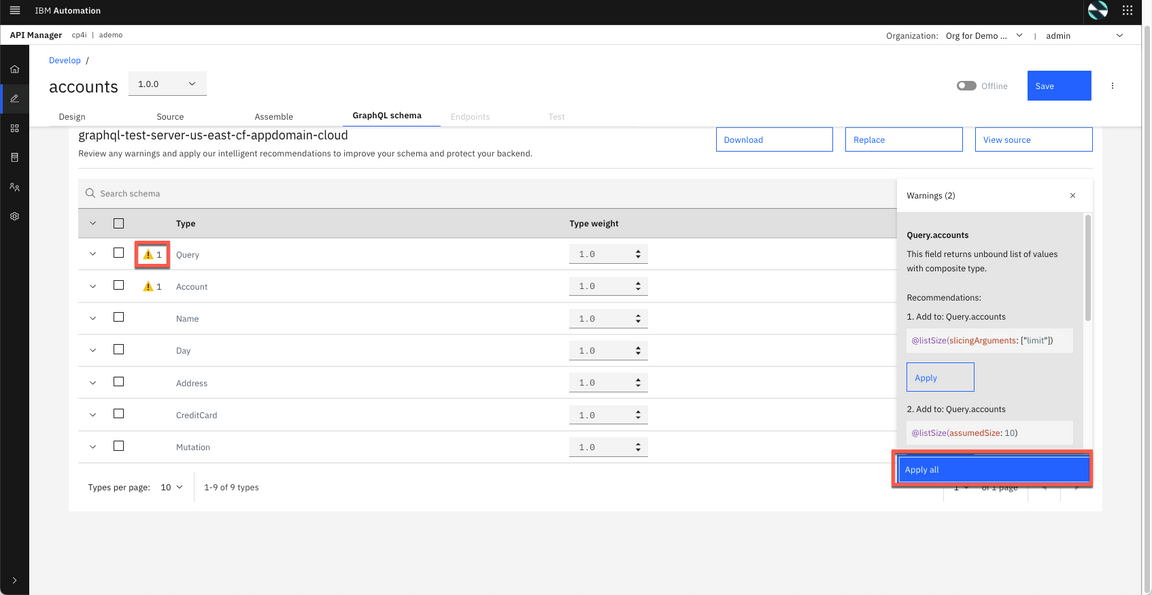
4.Let’s view the Warning message in the Query field. In addition to the warning details, the Warning window gives an option to fix the warning by applying the limits. Click Apply all and Apply again.
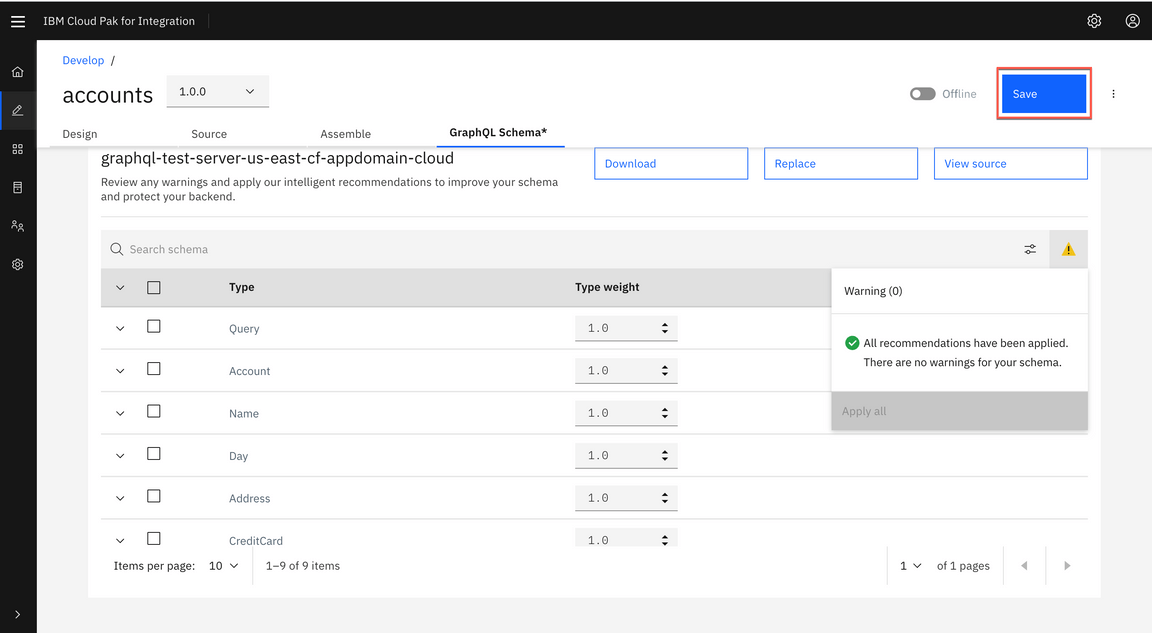
5.After applyting the recommendation the warning message is removed. Click Save to save the API definition .
6.Now, let’s open the Assembly view. The flow is automatically created as part of the initial API creation. You may apply addition logic by dragging and dropping items from the pallet to the canvas. In this tutorial, you are not adding additional logic.
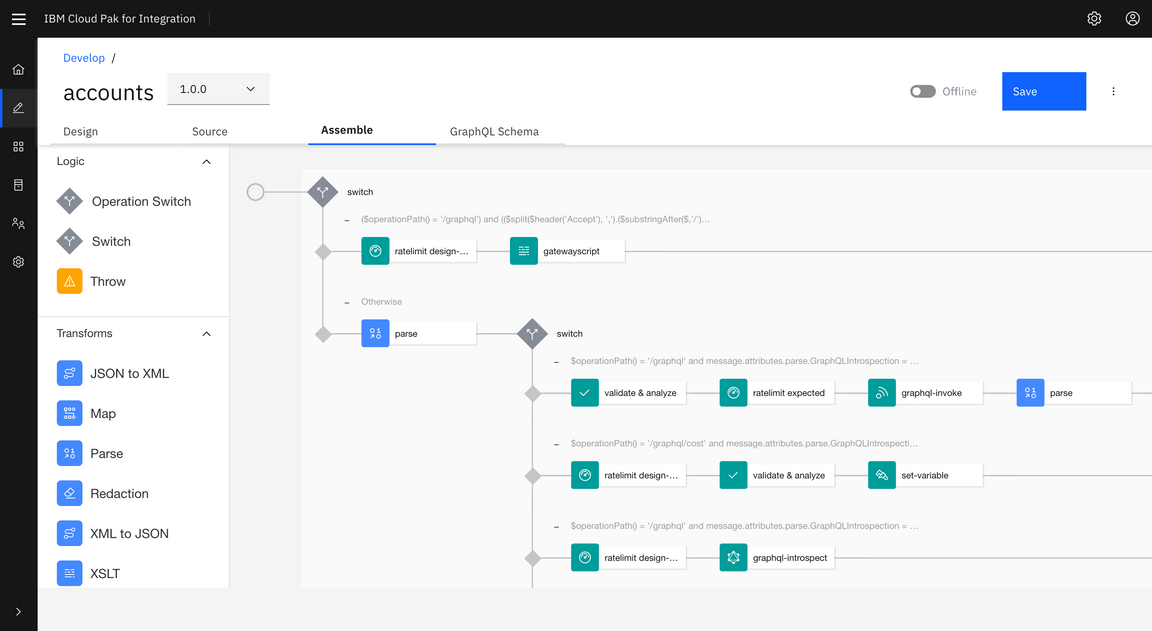
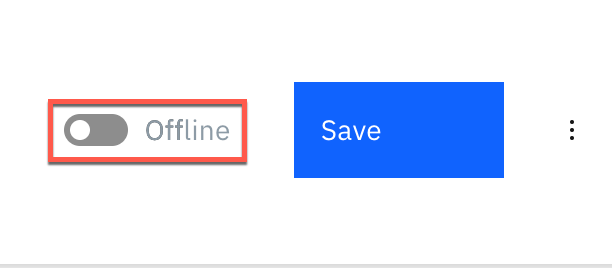
7.To publish the API toggle the button from offline to online.
8.After successfully publishing the API to API Gateway, additional tabs appear on the screen. Select Test tab to test the API.
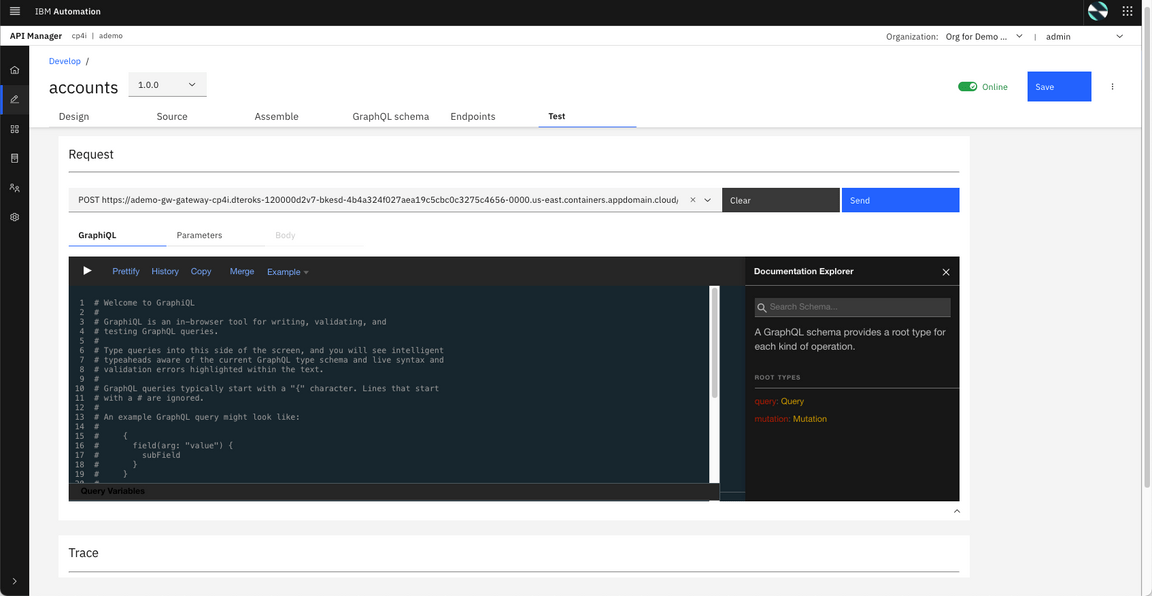
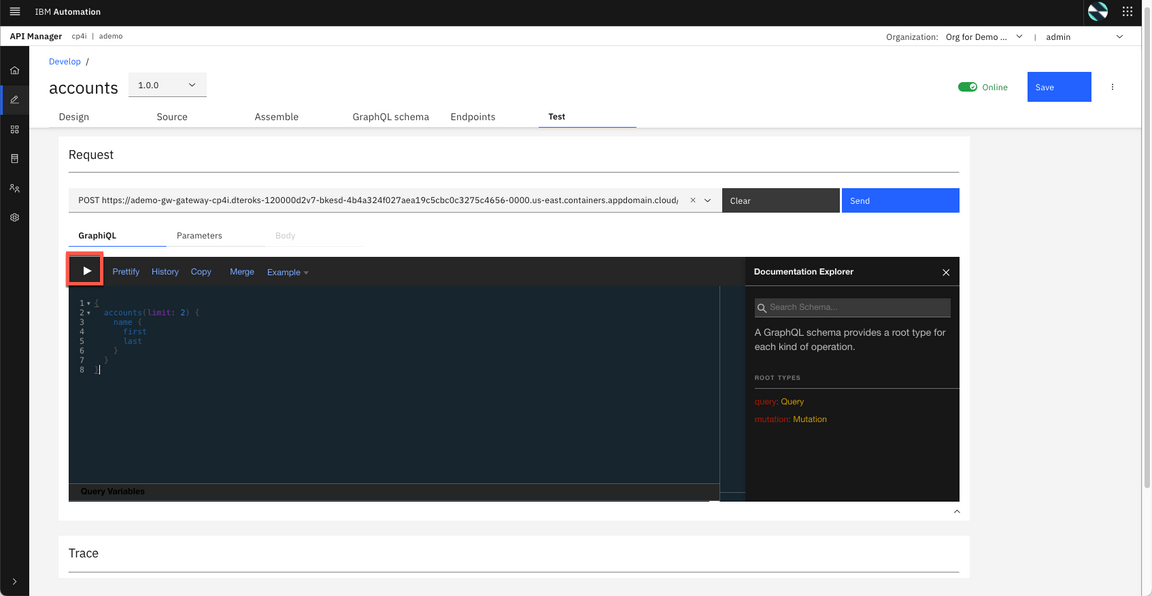
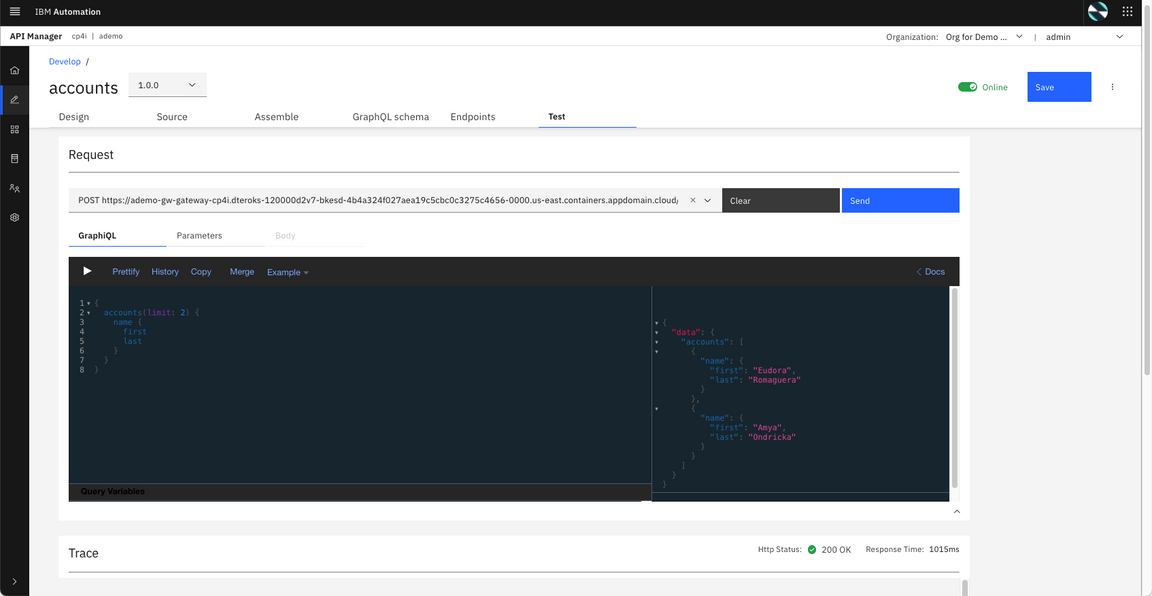
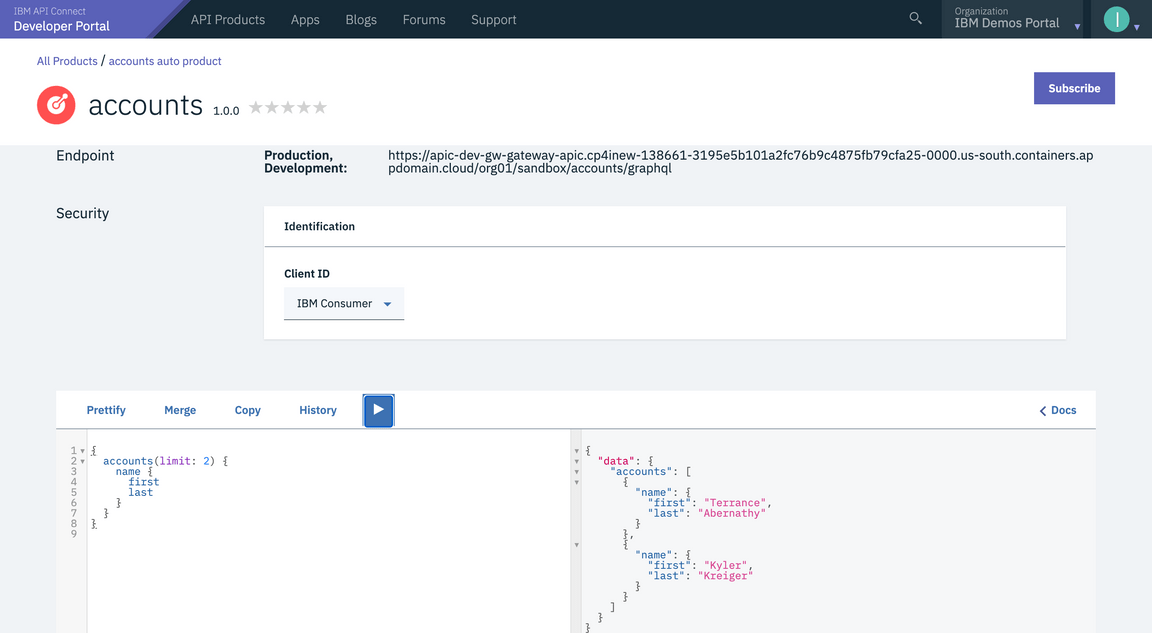
9.The Test feature also includes a GraphQL Editor. Enter the following JSON in the GraphQL Editor. You may use Prettify option to improve the visualization of the JSON.
{accounts(limit: 2) {name {firstlast}}}
10.Click Run button to send the GraphQL request to the end point.
11.An exception window will appear when you use test the API for the first time. Click accept Exception to continue.
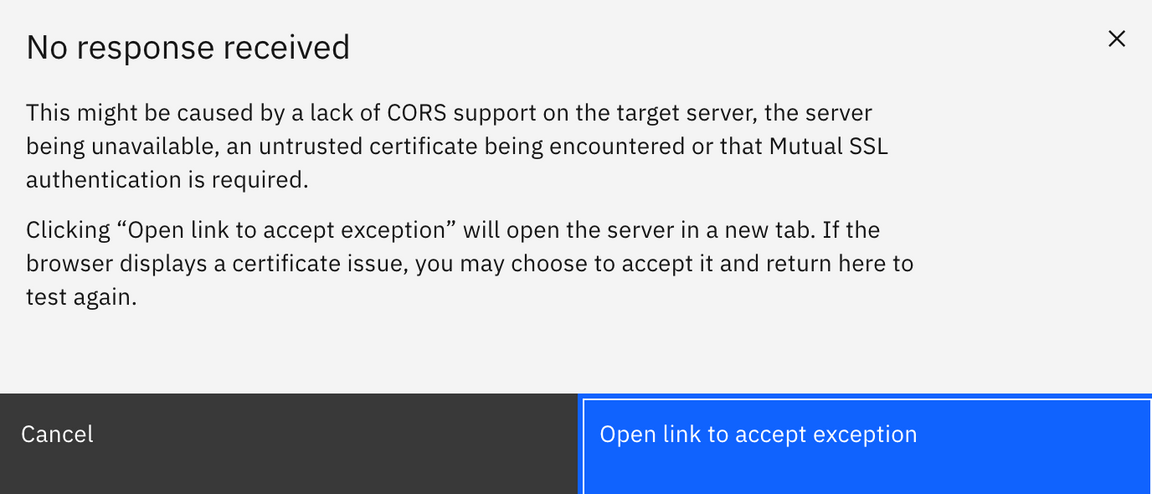
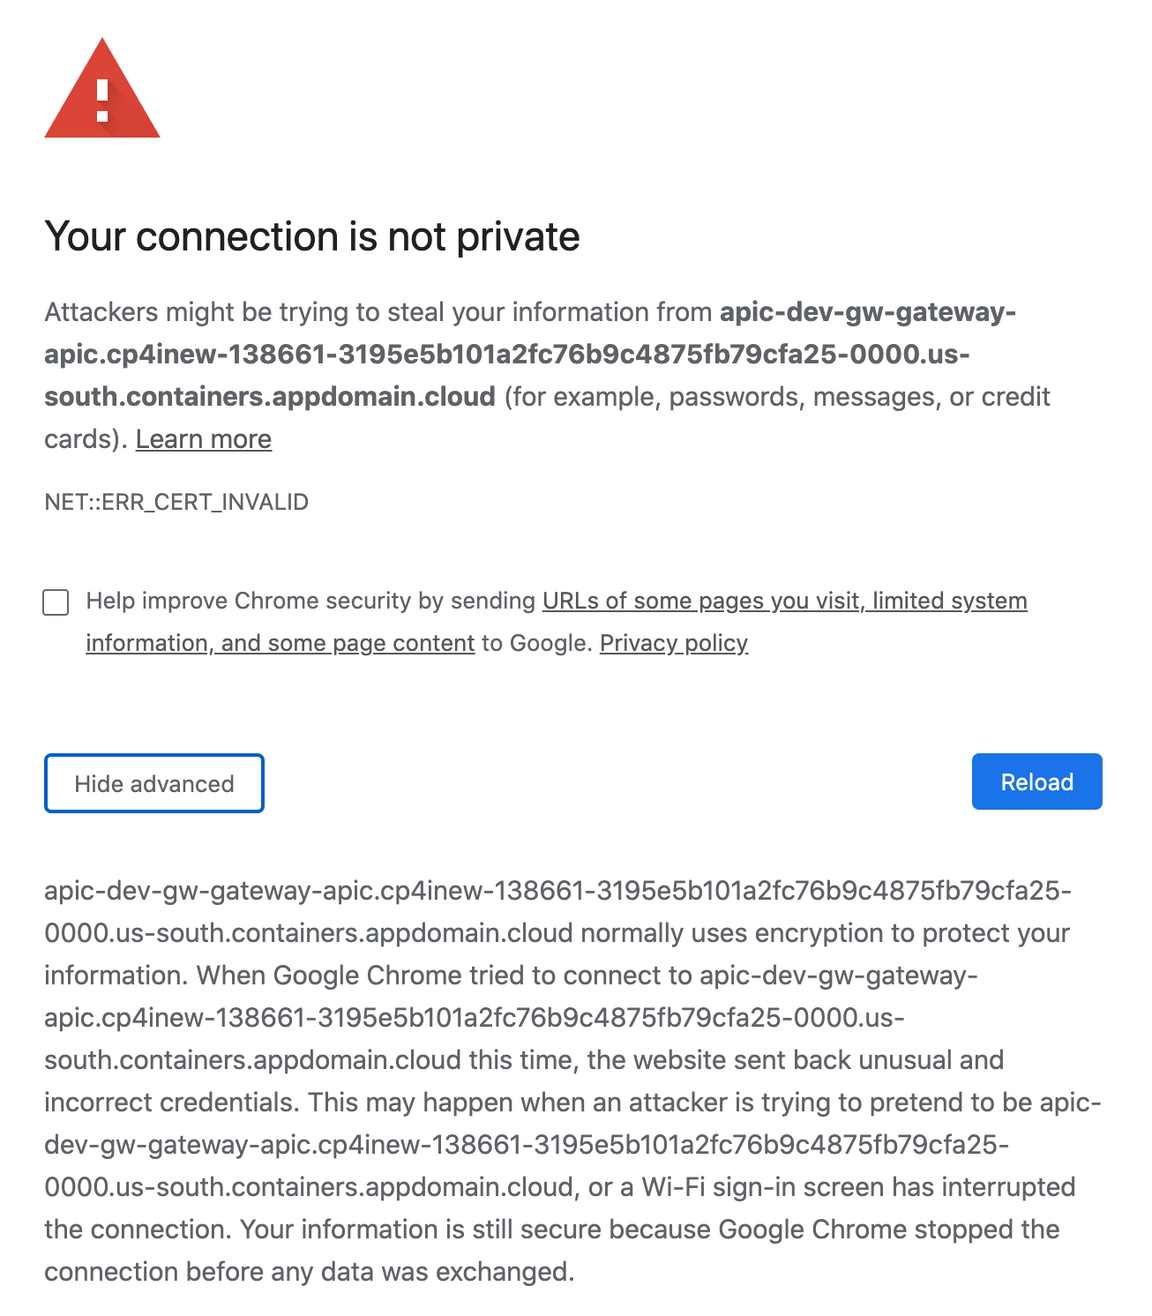
You may see an invalid certificate issue page when you continue. This is because valid certificates are not applied in this test environment. If you are using Chrome browser you can accept the exception by typing “thisisunsafe” anywhere in the window. Similar workarounds are available for other browsers. For firefox browser, follow the steps from here - https://support.mozilla.org/en-US/kb/error-codes-secure-websites
12.The results for GraphQL request are displayed on the right panel. In the request we limited the values to 2, so only two accounts are displayed. Change the value to 5 and submit the request again and notice that more accounts are returned in the results window.
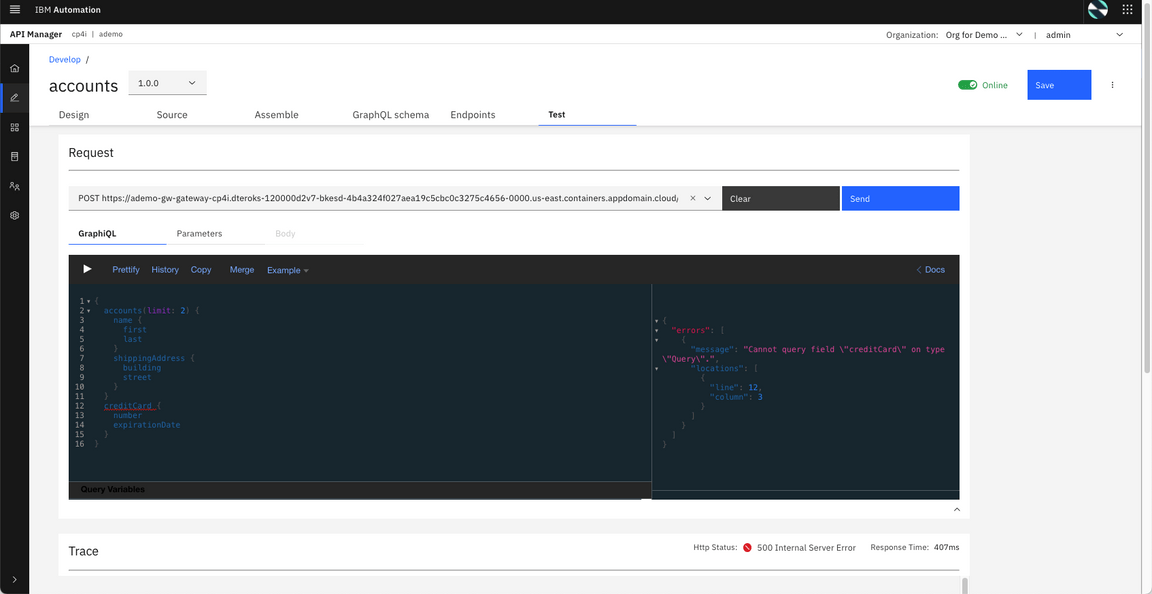
13.You can request additional data fields (refer to the schema editor for details), GraphQL may reject if certain fields are locked or prohibited. To test this, enter CreditCard information in the request field.
The complete request looks as follows:
{accounts(limit: 2) {name {firstlast}shippingAddress {buildingstreet
You will notice that an error message is displayed in the results window instead of the account values. This was caused because the server restricts the query field creditCard.
15.Submit another request to get account and shipping address details. This time the values are turned without errors.
{accounts(limit: 2) {name {firstlast}shippingAddress {buildingstreet
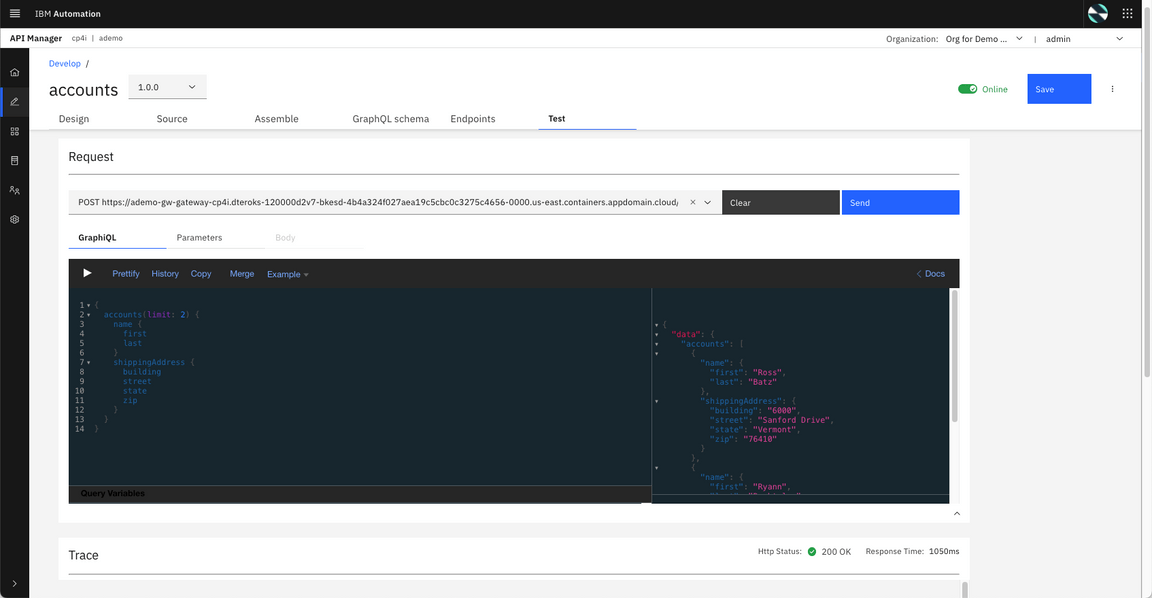
16.On breadcrumbs, return to Develop page.
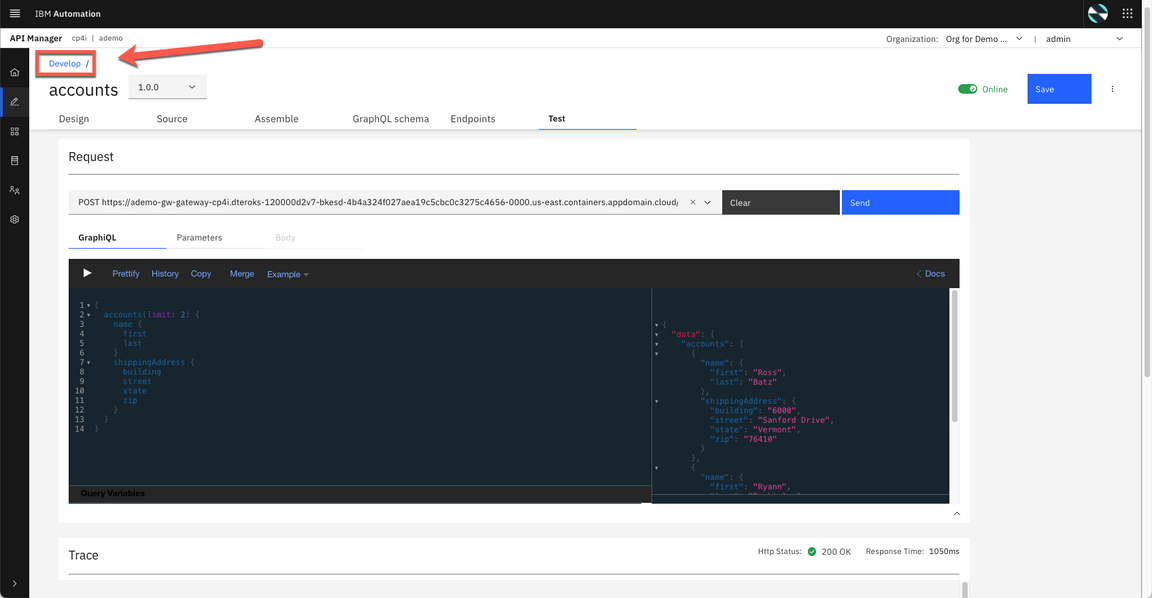
Create a Product and apply GraphQL RateLimits
1.Click Add->Product.
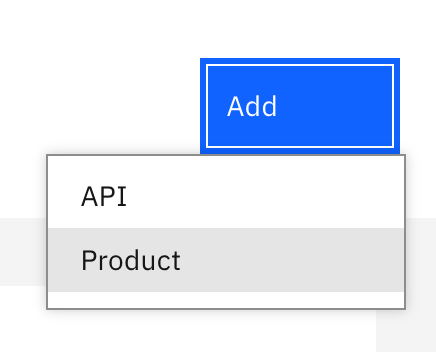
2.Select New product and click Next.
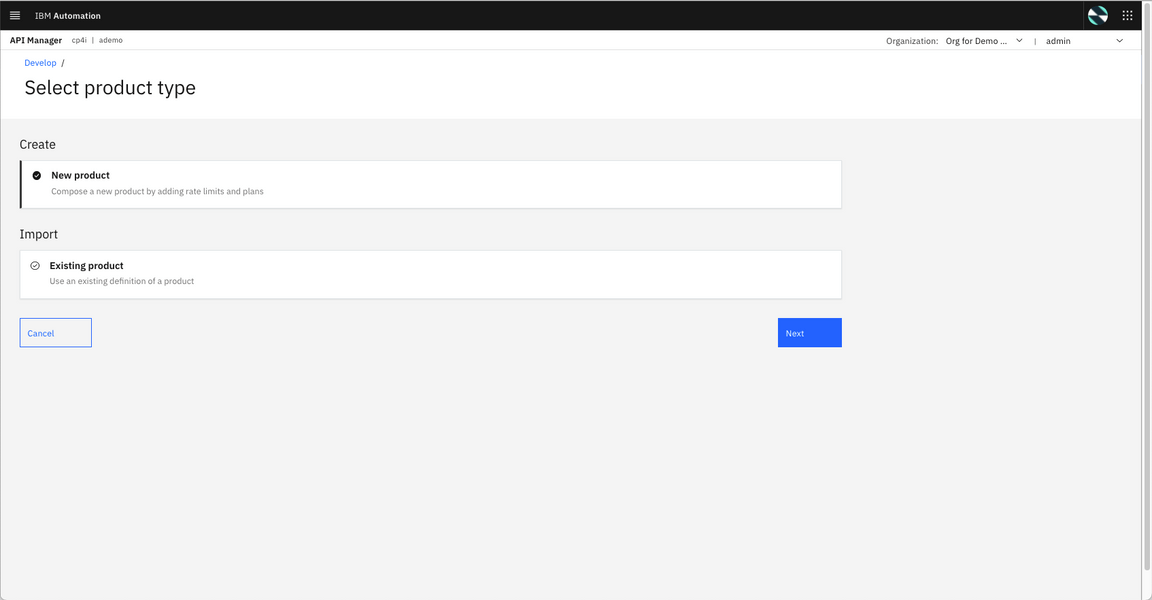
3.Name the product as Accounts Product and click Next.
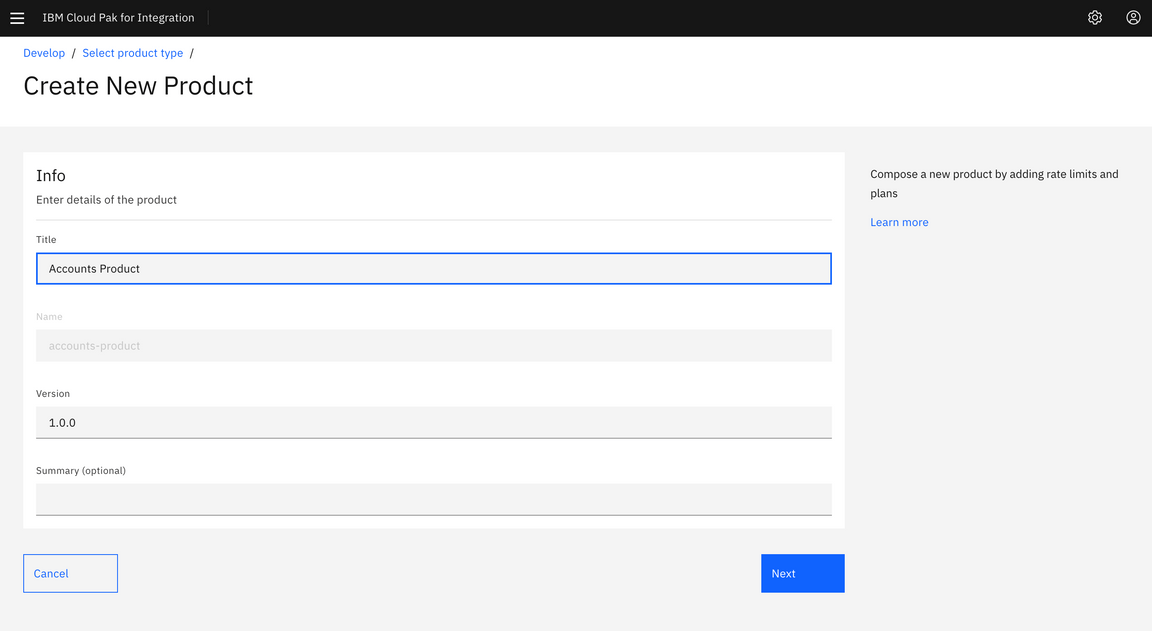
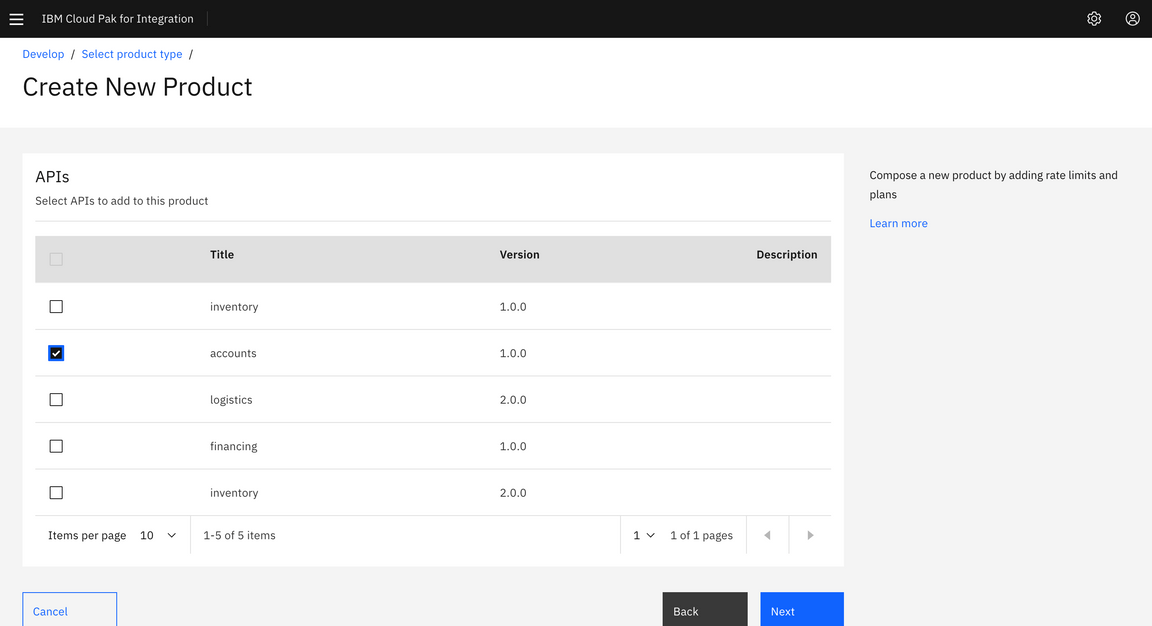
4.Add Accounts API to the product by selecting accounts. Click Next to continue to create the accounts-product.
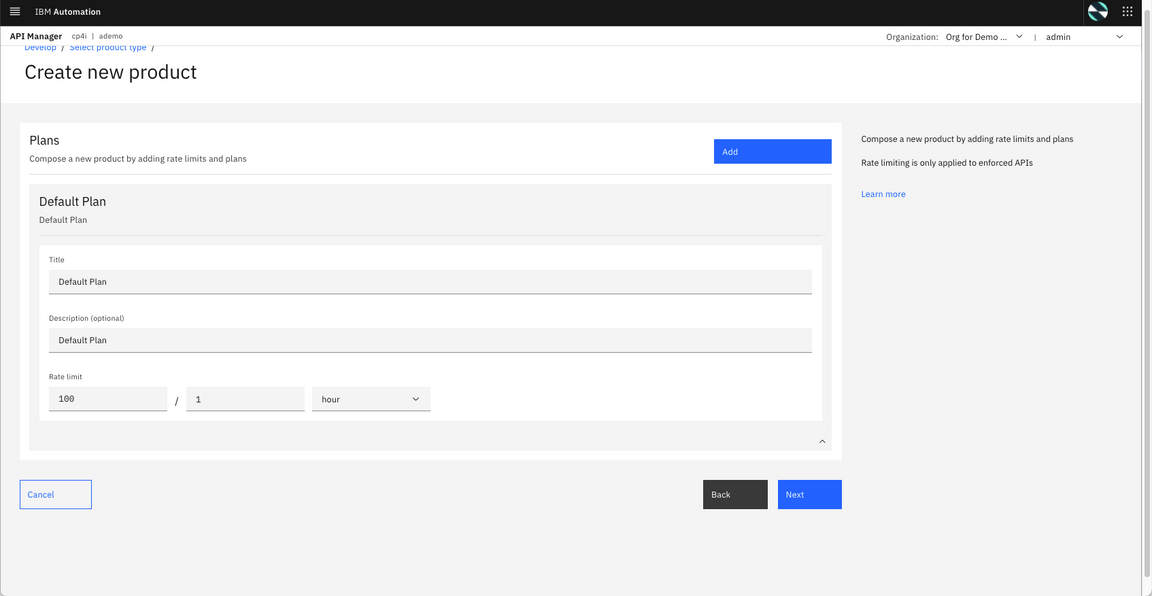
5.The Default Plan contains traditional rate limiting options, but in next steps, you will be able to list GraphQL Rate Limits.
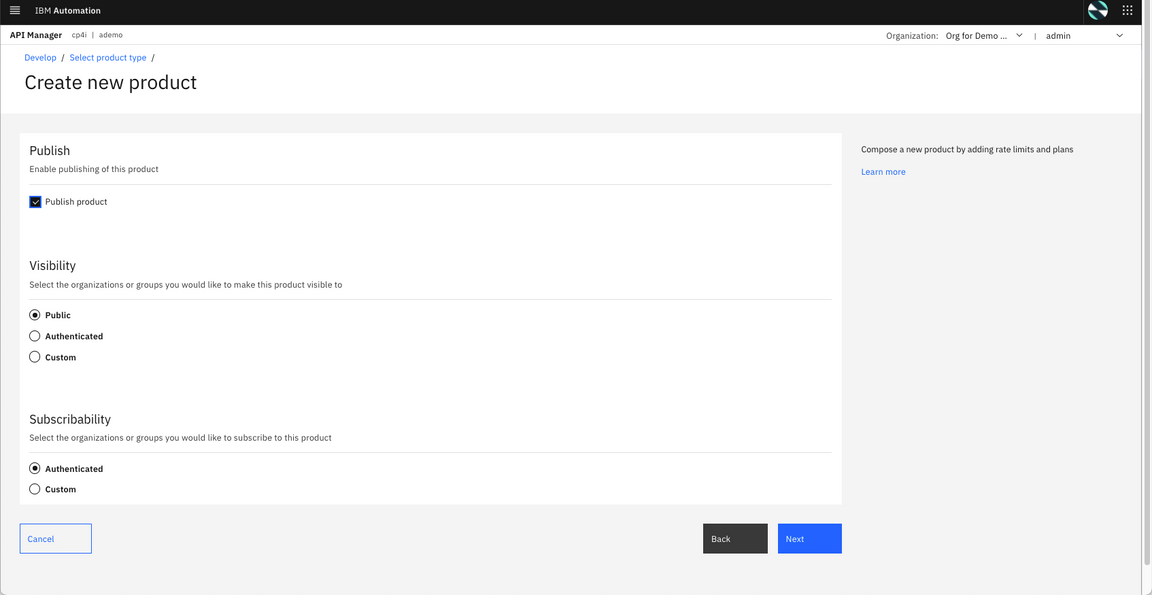
6.Publish the Product to Sandbox Catalog by selecting Publish product. Accept the default for Visibility and Subscribability and click Next.
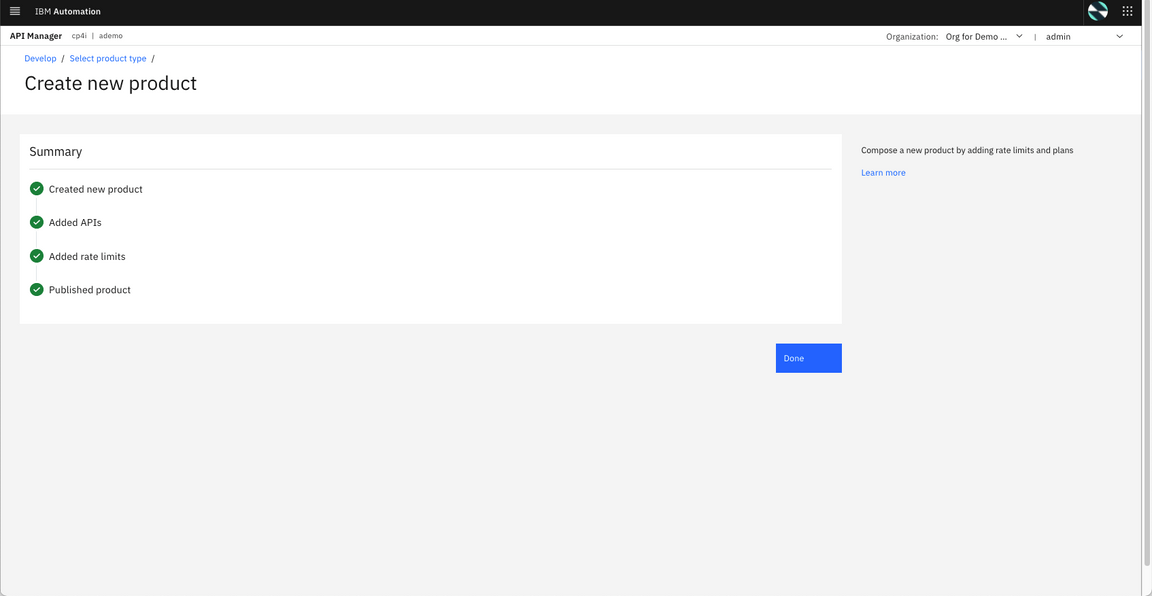
7.Great! You have your ner product. Click Done.
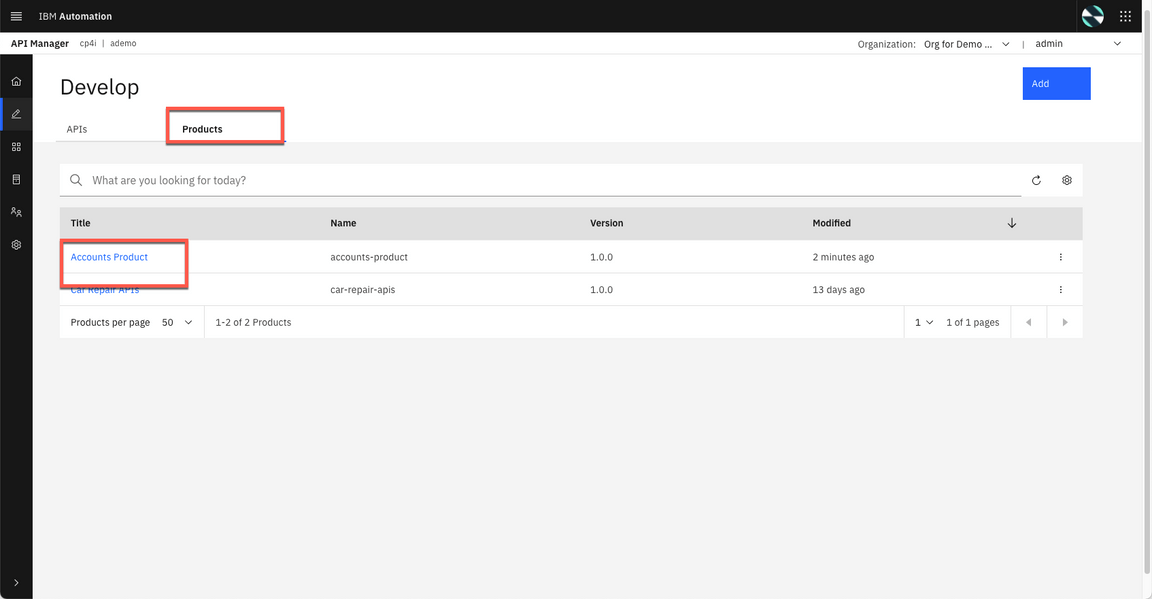
8.Back to the Develop view, open Products tab and click on Accounts Product.
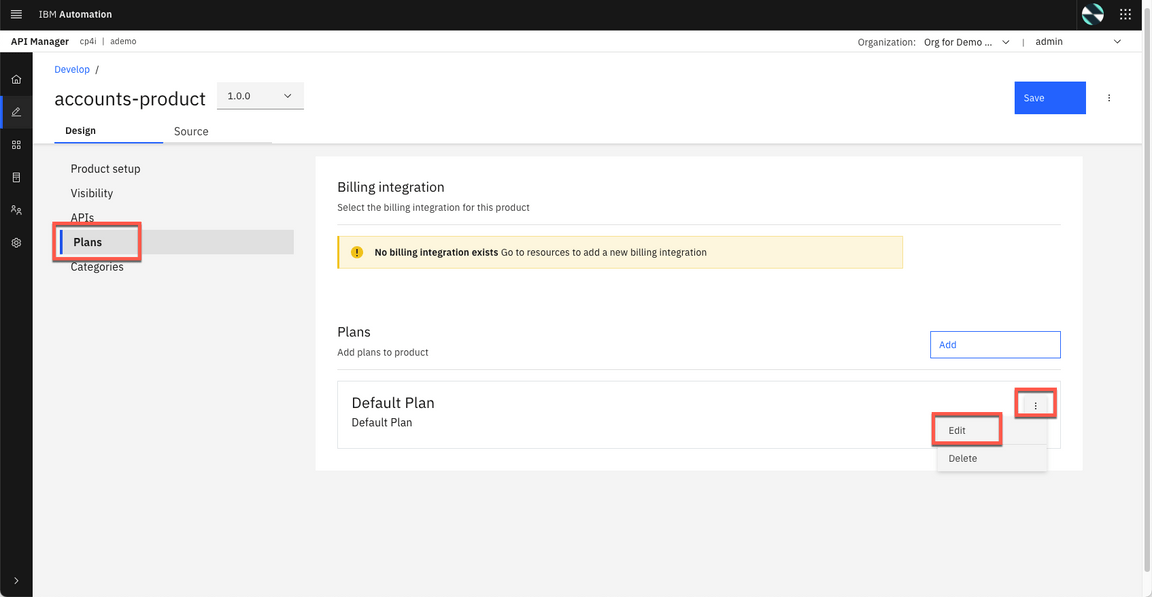
9.Open the Plans section, and on the Default Plan, open the Context menu and select Edit.
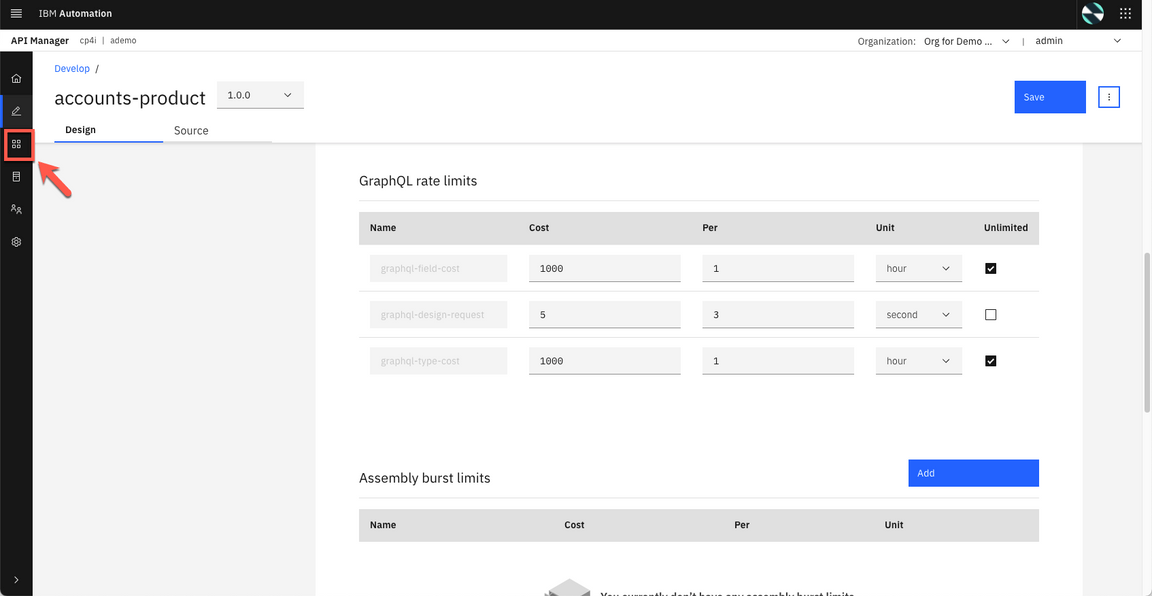
10.Scroll down, and now you can see the GraphQL rate limits. You will be able to adjust GraphQL cost parameters from this section (including costs per field or type). You can set a limit or make it unlimited. In this tutorial, you will not be making any changes.
If you want to understand how the GraphQL rate limits work, check this documentation page. On the left menu, click Manage icon to manage our Sandbox catalog.
Explore the API from Developer Portal
Now that we’ve published our API, we need to make sure that our API consumers can discover it and use it. Our Portal will allow customers to view the APIs, sign up and subscribe to plans in a self-service manner, test the APIs, download the OpenAPI - Swagger documents and more. Let’s explore it.
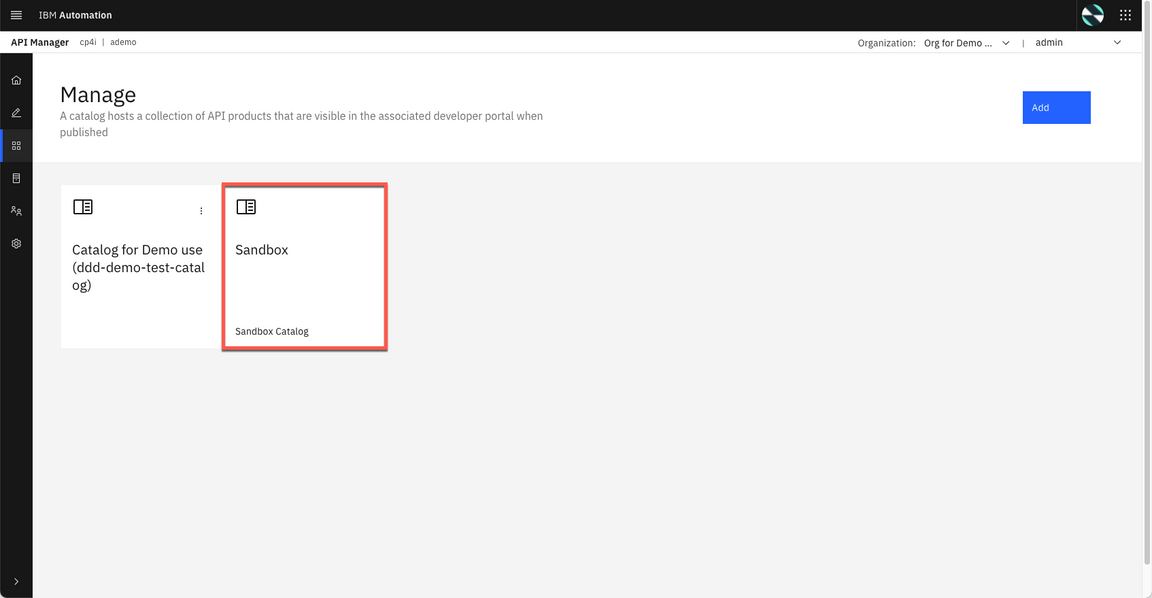
1.Let’s get our Portal URL. On Manage page, open the Sandbox catalog.
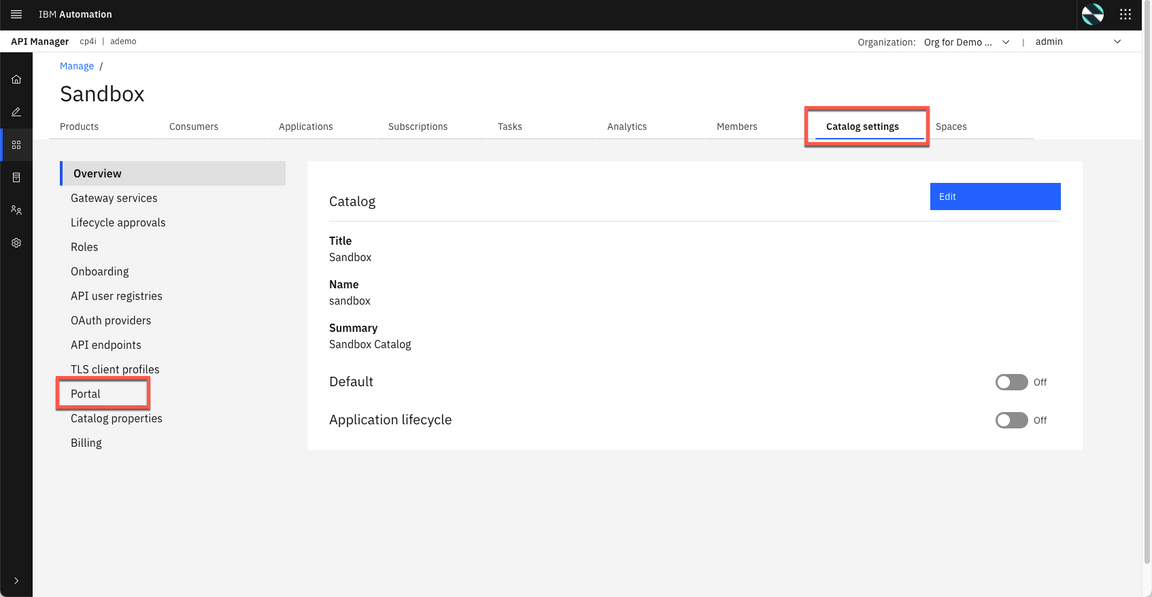
2.Click Catalog settings and open the Portal tab.
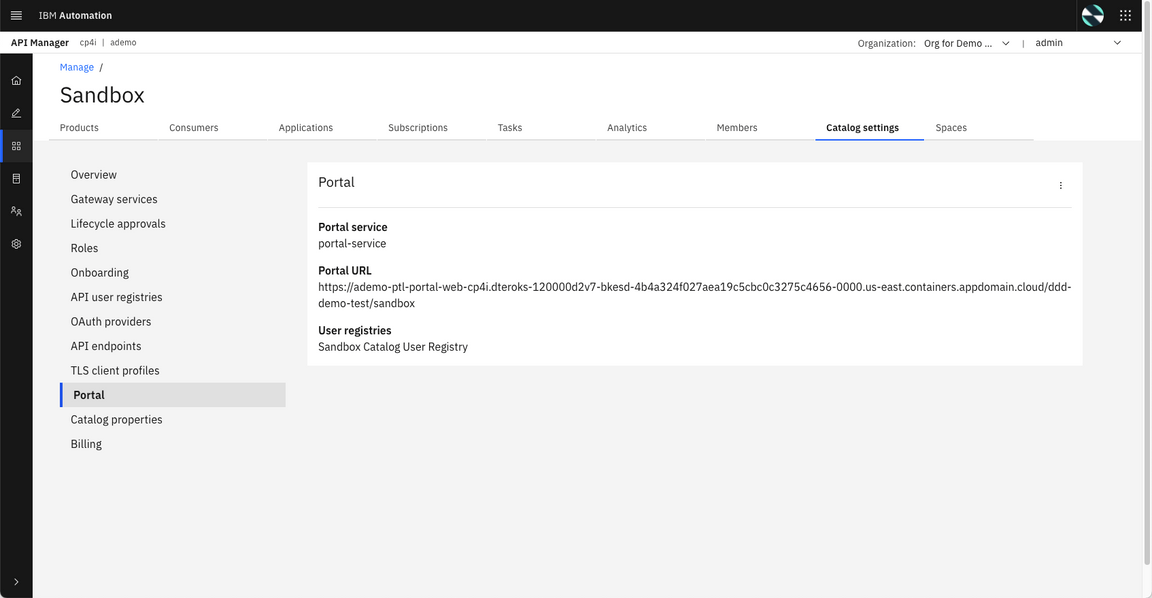
3.Great, here you have your Portal URL. Copy it, and open it in a new browser tab.
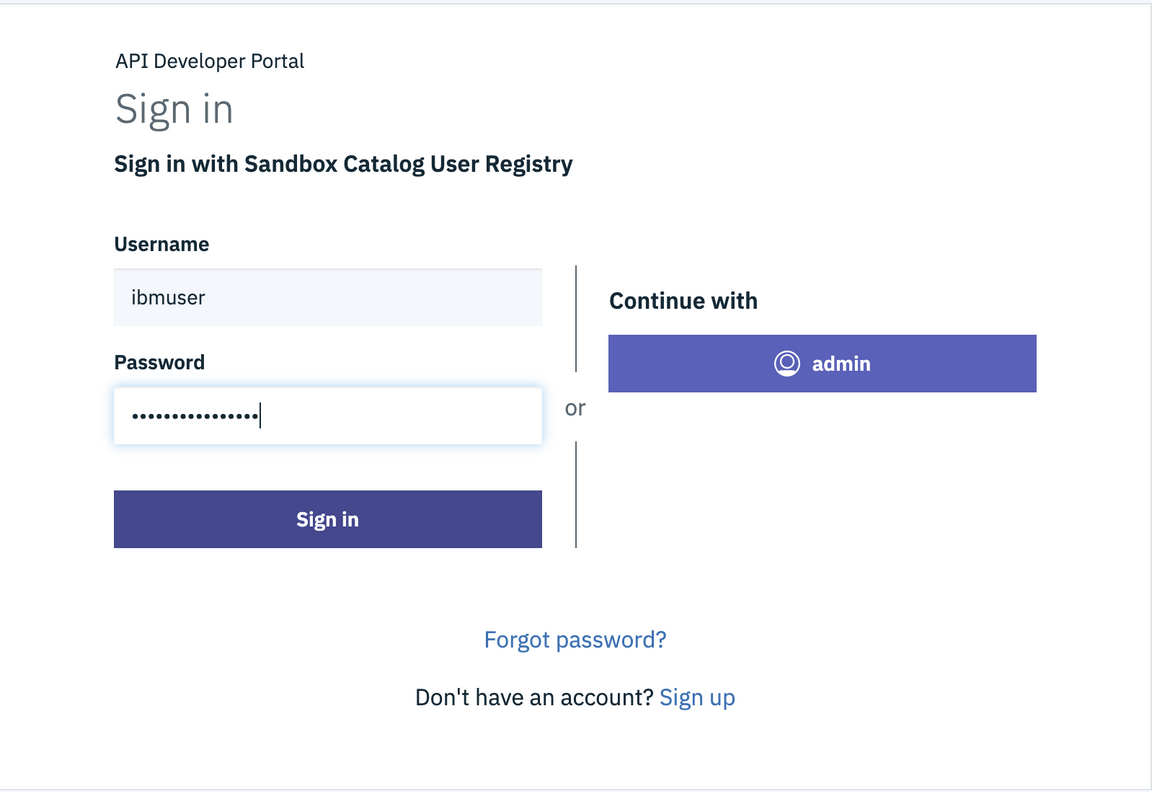
4.Sign in to Developer Portal using your developer username and password. If you don’t have one, you are welcome to create a Developer account.
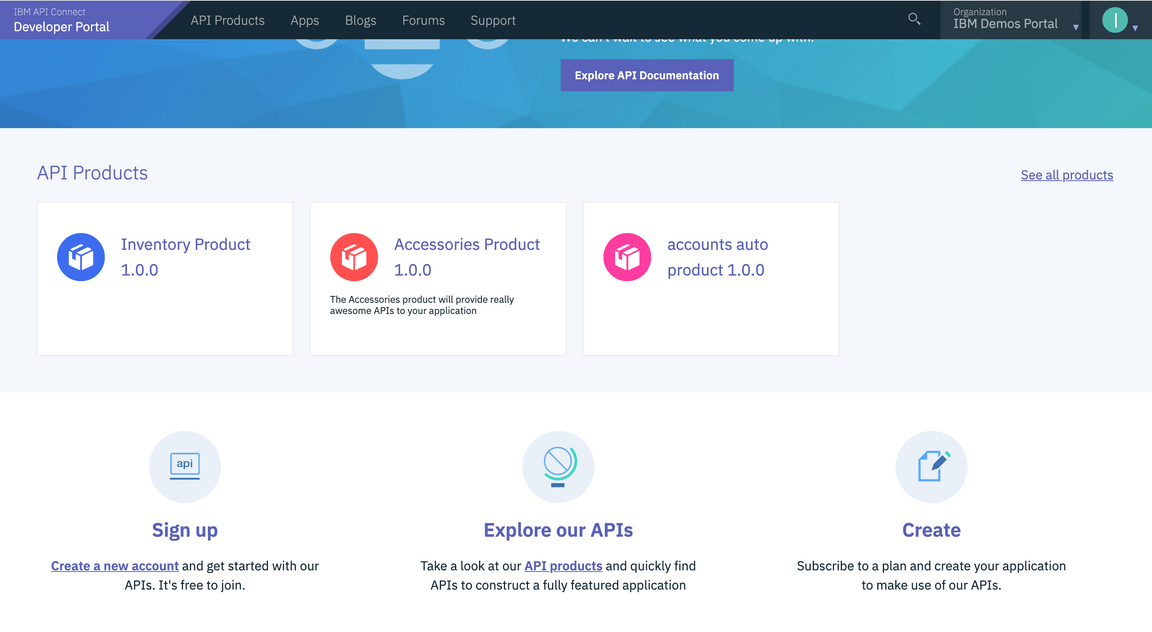
5.Developer Portal displays all the products that are currently published. Locate accounts-product and select the product.
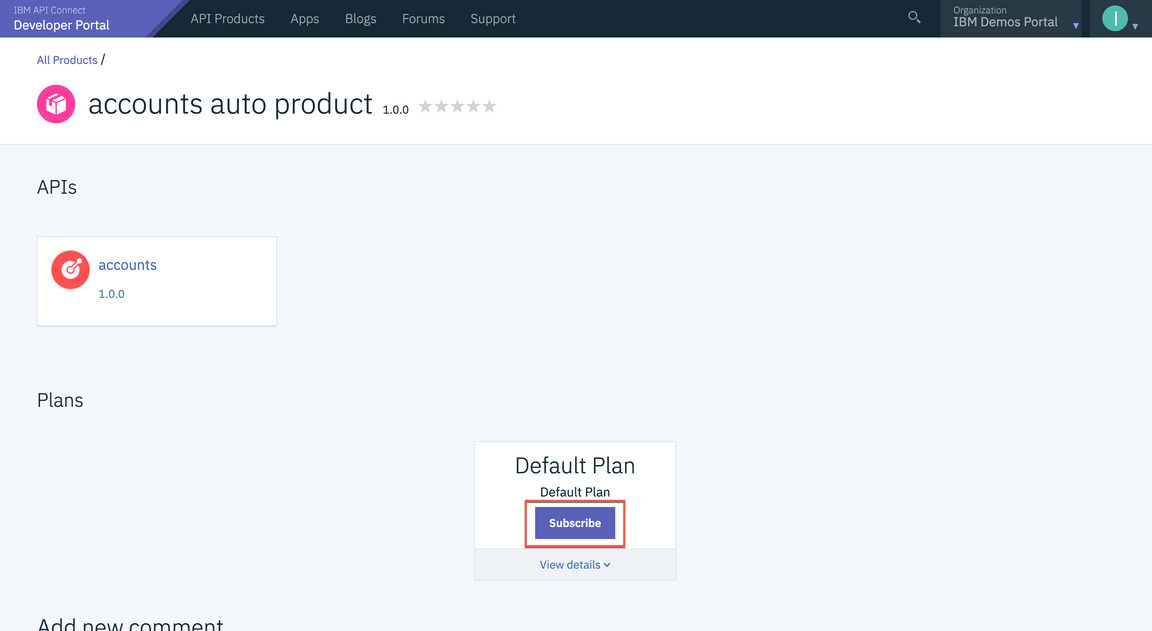
6.The selected product lists one API (accounts api) and one Plan (Default Plan). Select Subscribe option to subscribe to the plan.
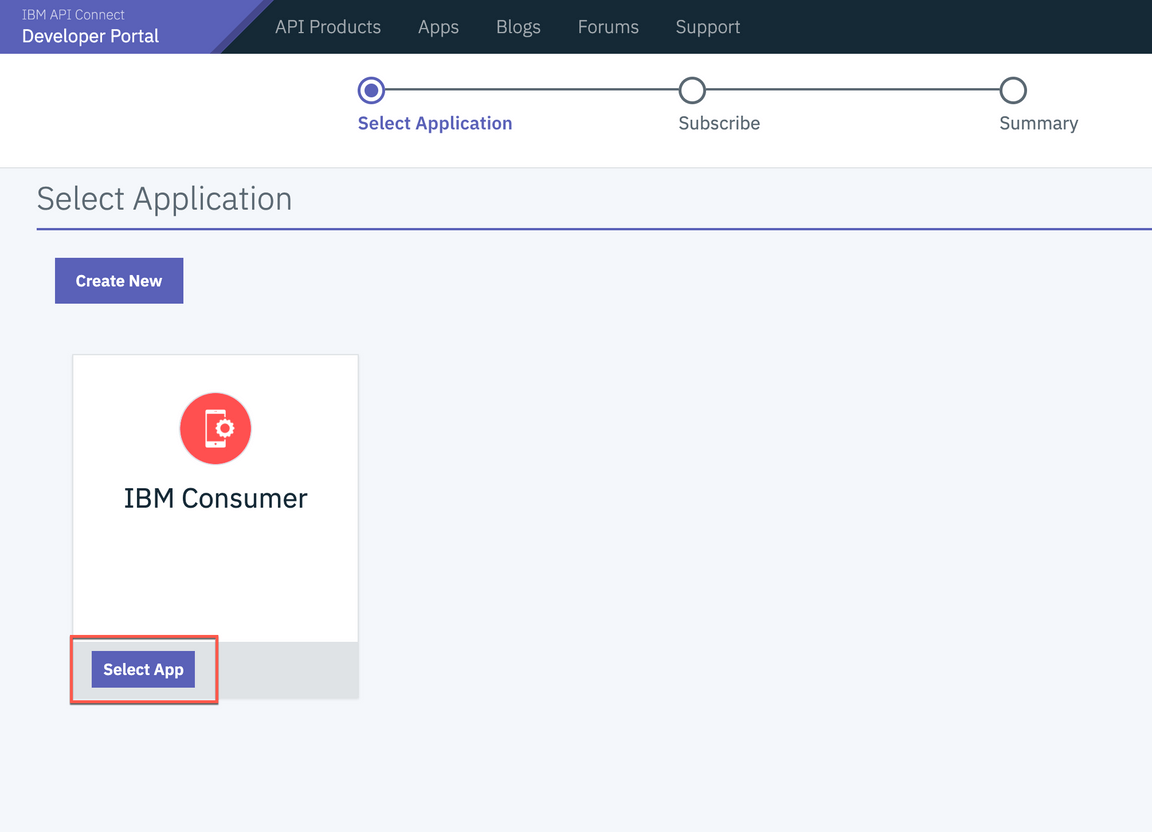
7.The Plan subscription requires an Application. You can create a new Application or select the IBM Consumer application that is already created.
8.Select accounts API to review and test the API. Click accounts to continue
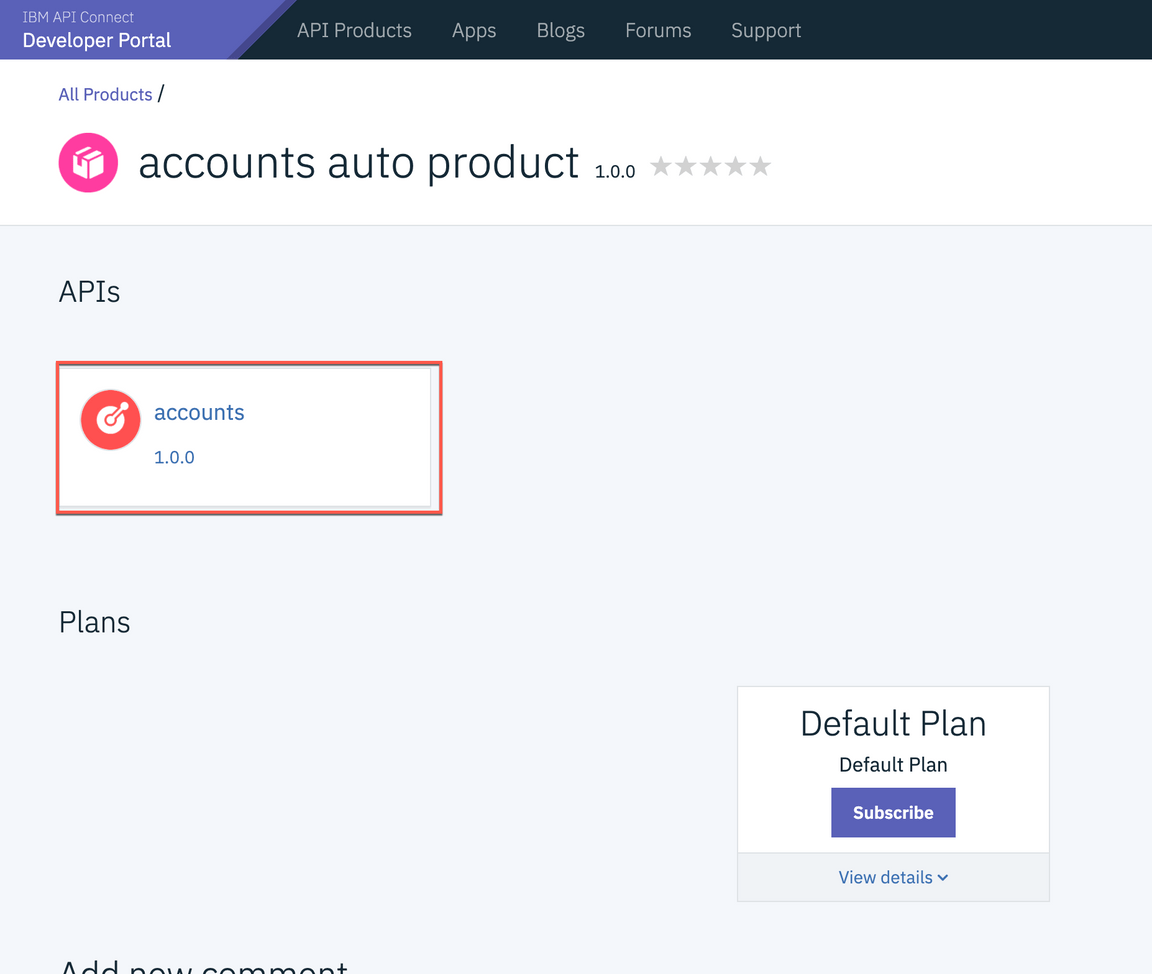
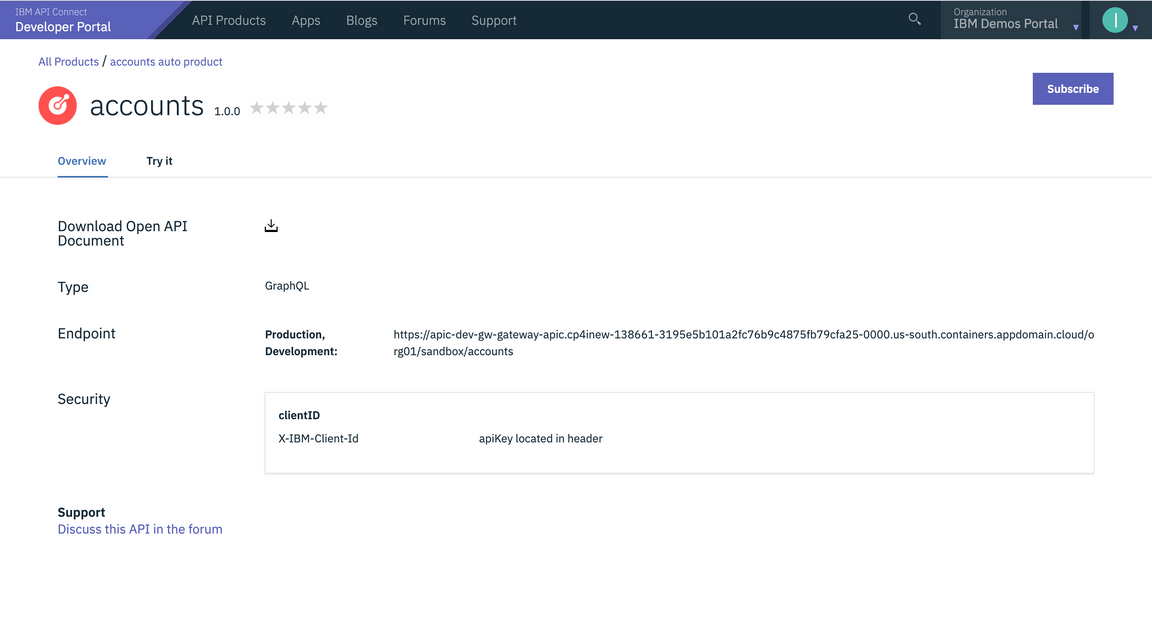
9.Developer Portal displays the type as GrahQL API. Currently Client ID security is enforced. Since there is only on Plan and one Consumer Application, the Consumer ID filed is already populated.
10.To continue to test the API, use the GraphQL Editor. Submit requests with different field names and watch how quickly the results are returned in the results window. If this was a REST API multiple end points will be needed to achieve the same result.
Summary
Congratulations! You have successfully created a GraphQL Proxy API, published the API as part of a Product, applied controls and rate limits, and tested using Developer Portal.
To learn more about Cloud Pak for Integration and API Life Cycle Management, visit https://www.ibm.com/cloud/cloud-pak-for-integration
