Installing Cloud Pak for Integration using Operators
The installation of IBM Cloud Pak for Integration (CP4I) is simplified with Operators support starting from release 2020.2.1. The IBM Cloud Pak for Integration can be installed by adding the IBM Operator Catalog and the IBM Common Services Catalog to your cluster and using the Operator Lifecycle Manager (OLM) to install the operators. You can then deploy the CP4I capabilities and runtimes using Platform Navigator or Operator Hub.
The following instructions apply to CP4I on all supported platforms including IBM Cloud, AWS, Azure, and on-prem.
- Prerequisites
- OLM Catalog Sources
- Install Platform Navigator
- Installing Capabilities and Runtimes
- Post installation steps
Prerequisites
- OpenShift cluster 4.4.9 or higher
- Administrator access to Openshift console
- IBM Entitlement Registry Key
- Minimum 3 worker nodes with 16 cores and 32gb memory, block and file storage access
- oc command line tool
OLM Catalog Sources
\1. Login to your OpenShift cluster using userid and password or token. You must be a cluster administrator to add CatalogSource objects to a cluster. You can obtain OpenShift
The login command using a token looks like below (your token and clusteraddress will be different)
oc login --token=19P1E8JTTT307A4DpncdR-WNYTCCeTF0OiPFx5UJirw--server=https://c104-e.us-east.containers.cloud.ibm.com:30339
- Add the IBM Common Services operators to the list of installable operators by running the following command:
oc apply -f - << EOFapiVersion: operators.coreos.com/v1alpha1kind: CatalogSourcemetadata:name: opencloud-operatorsnamespace: openshift-marketplacespec:displayName: IBMCS Operatorspublisher: IBM
- Add the IBM operators to the list of installable operators by running the following command:
oc apply -f - << EOFapiVersion: operators.coreos.com/v1alpha1kind: CatalogSourcemetadata:name: ibm-operator-catalognamespace: openshift-marketplacespec:displayName: ibm-operator-catalogpublisher: IBM Content
Install Platform Navigator
Get your entitlement key from the Container Library
Create a namespace for Platform Navigator
oc new-project cp4i
- Create an entitlement secret using the entitlement key from step-1.
oc create secret docker-registry ibm-entitlement-key \--docker-username=cp \--docker-password=<entitlement-key> \--docker-server=cp.icr.io \--namespace=<target namespace>
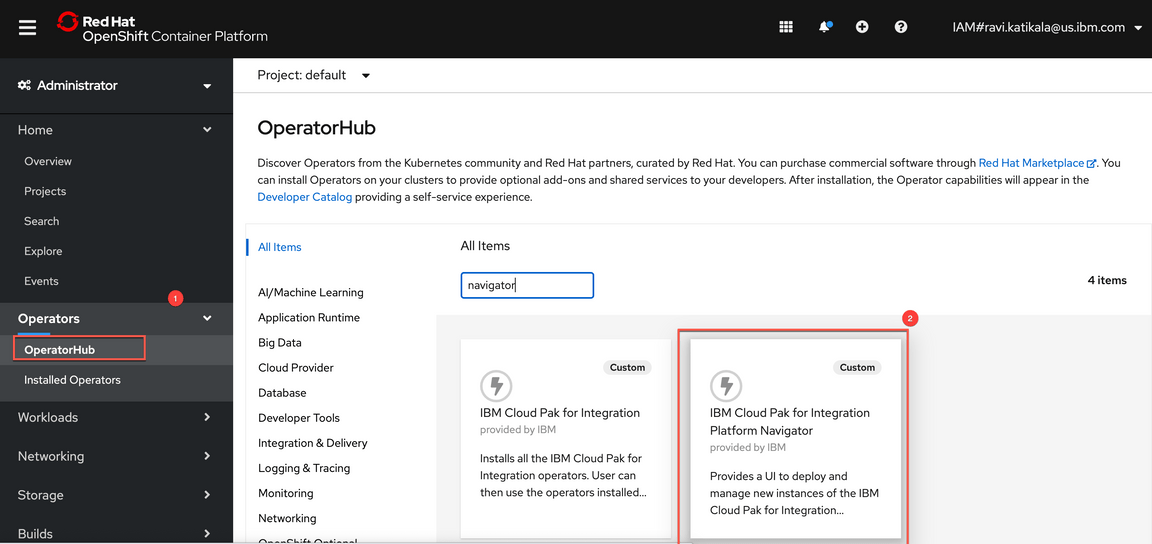
Deply Platform Navigator using the Red Hat OpenShift web console. Go to OperarorHub and look for Platform Navigator
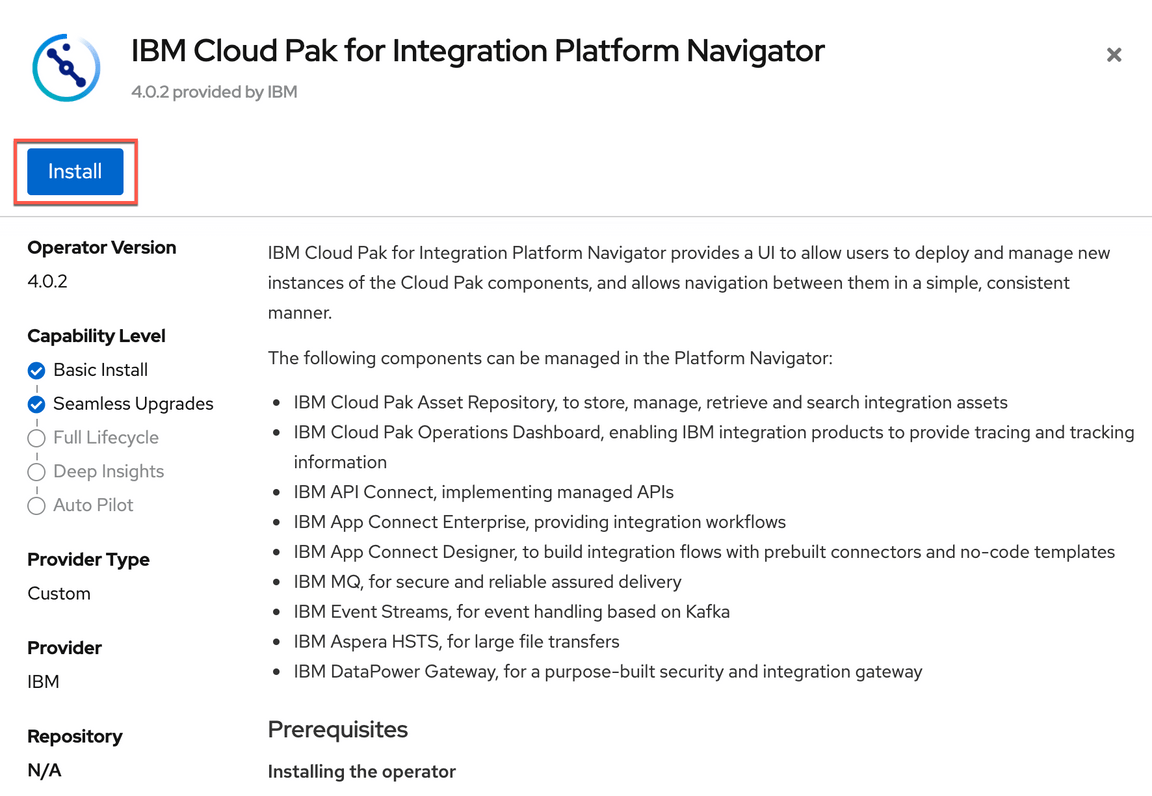
Select Install to install Platform Navigator.
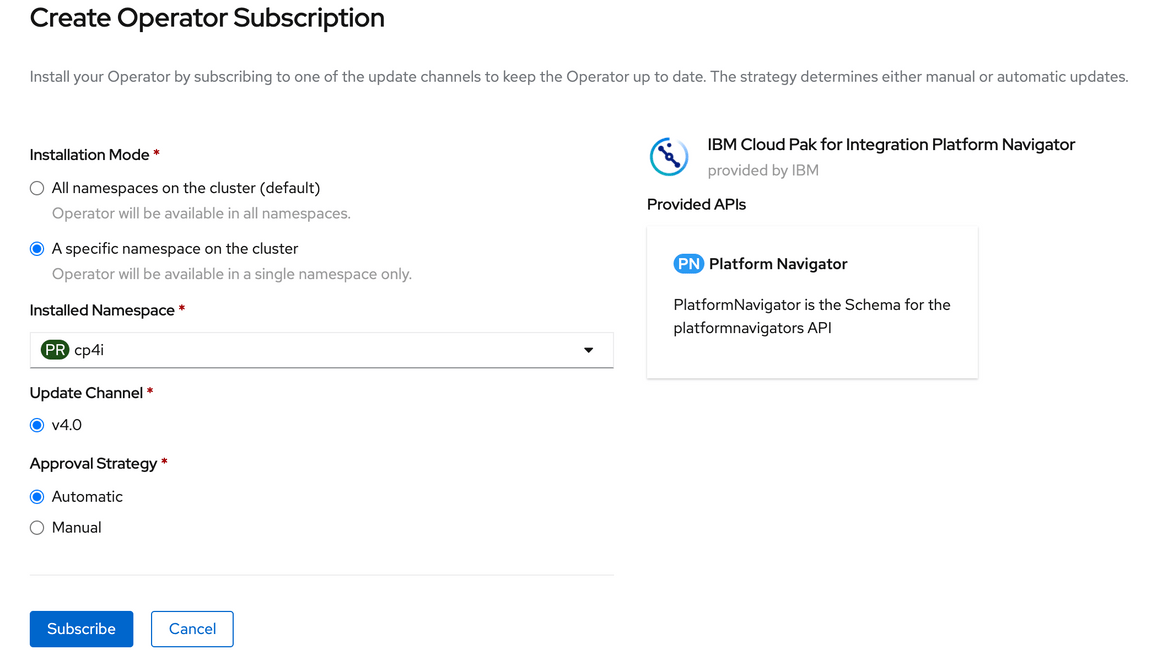
Add Operator Subscription. The new subscription can be added for a specific namespace or all namespaces. Select cp4i for namesace.
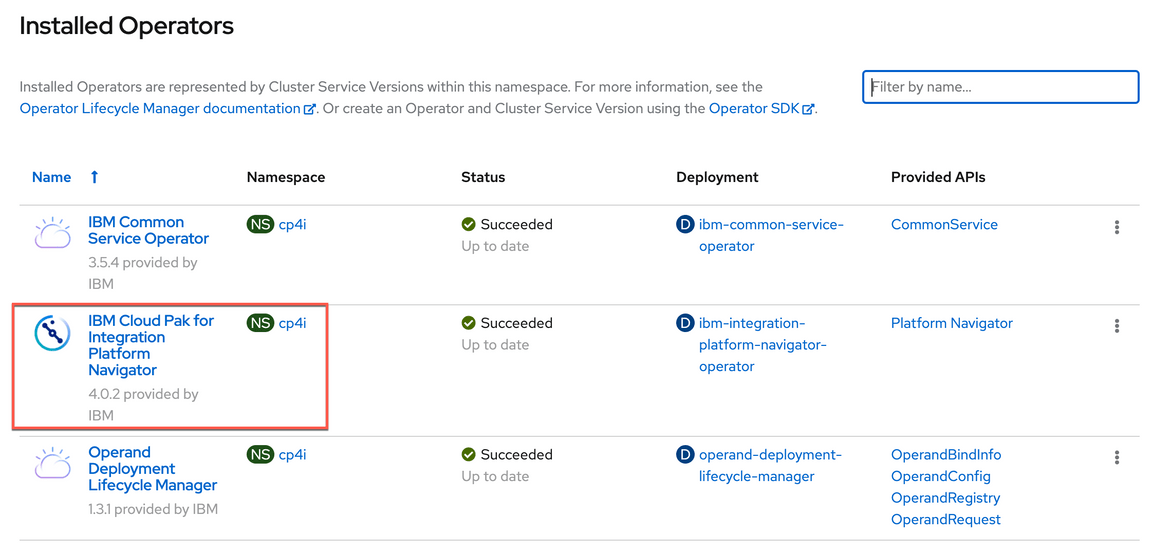
When you add Platform Navigator, Deployment Lifecycle Manager and Common Services Operators are also installed. Select Platform Navigator to create an instance.
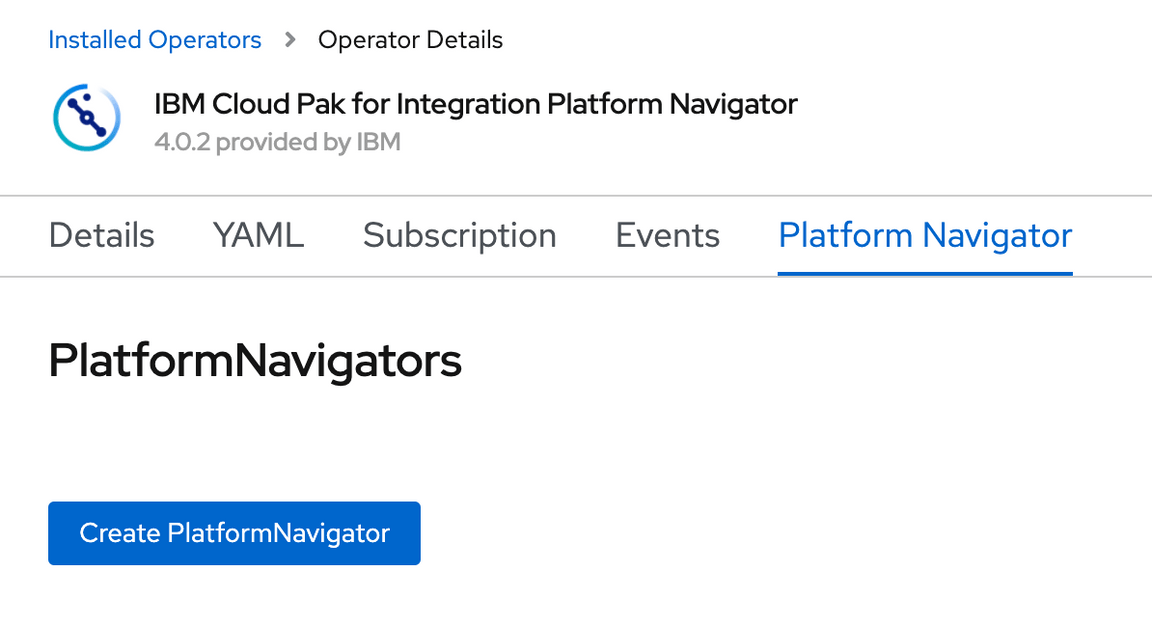
Click on Create Platform Navigator to create an instance.
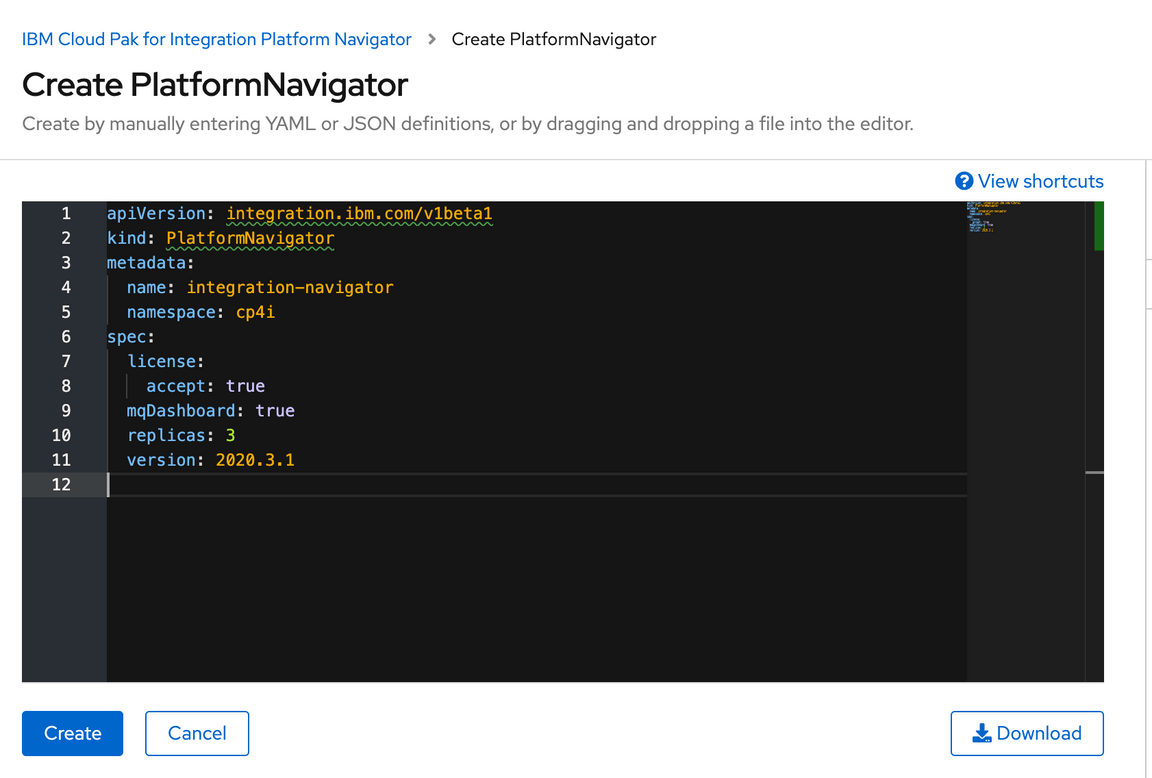
Accept license and select Create.
When platform navigator and dependent services are successfully installed. You can obtain admin password by running the following command.
oc get secrets -n ibm-common-services platform-auth-idp-credentials -ojsonpath='{.data.admin_password}' | base64 --decode && echo ""
You can get the login URI for Platform Navigator using the following command:
oc get route -n cp4i -ojsonpath='{.items[0].spec.host}'
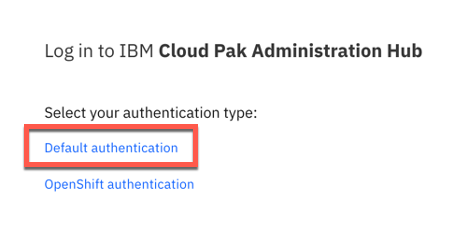
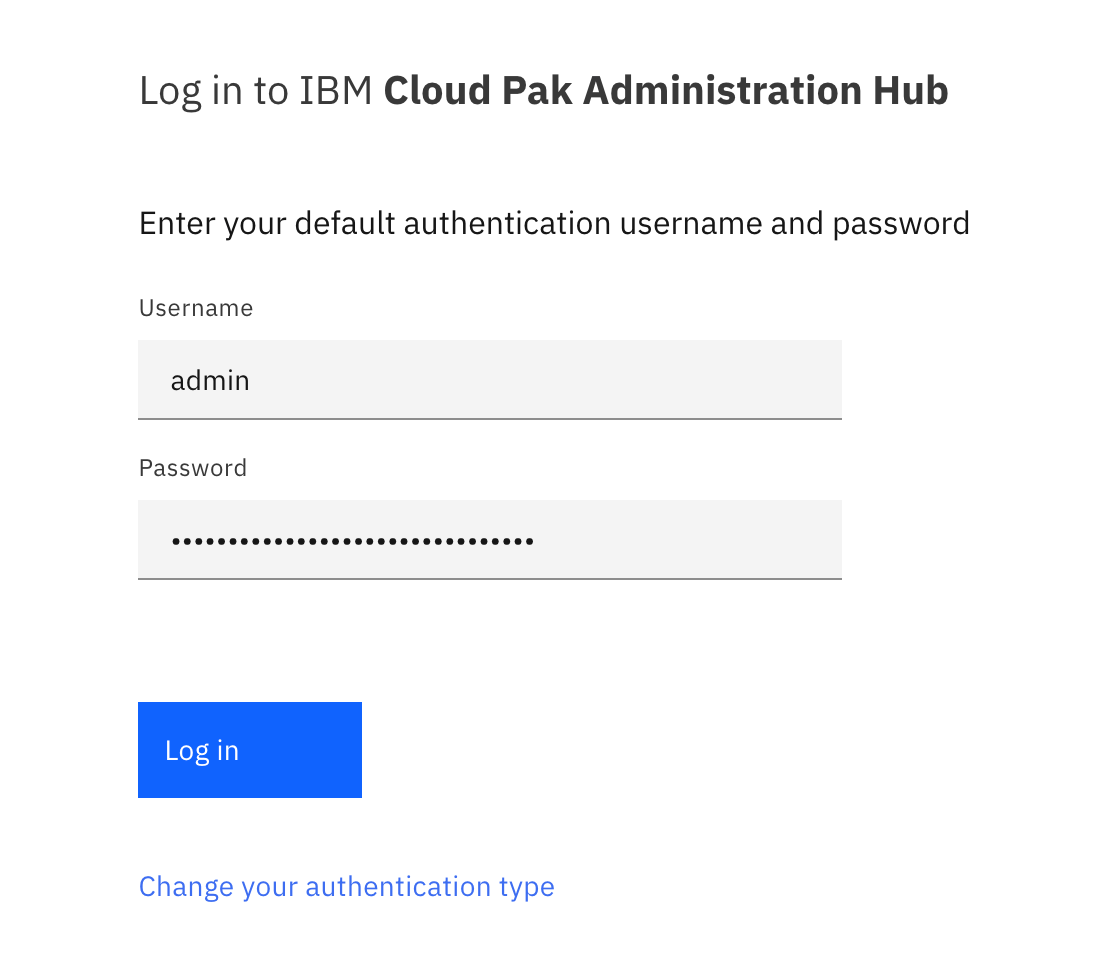
Open the URI in a browser and login using admin and \<password> using Default authentication option.
Installing Capabilities and Runtimes
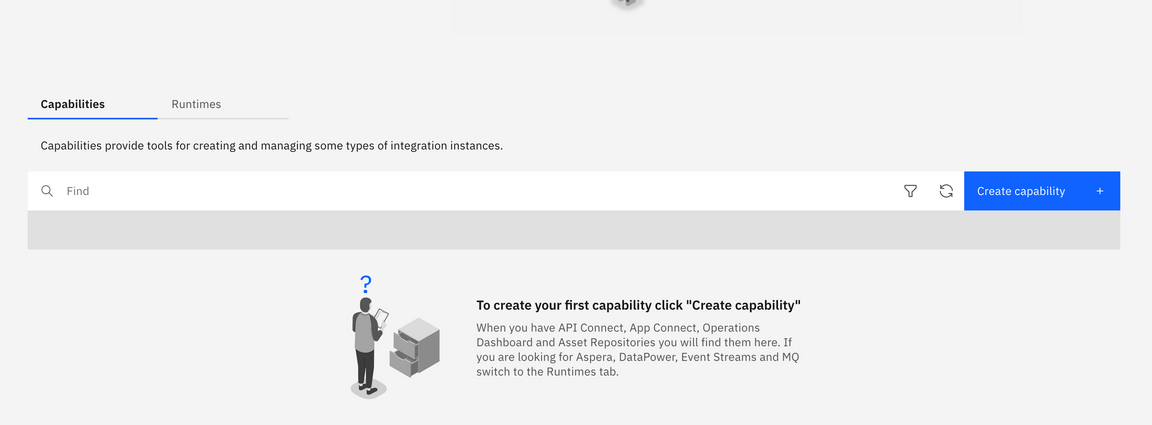
Initially when Platform Navigator is installed the Capabilities and Runtimes will be blank. You can add Cloud Pak capabilities and Runtimes using Plaform Navigator or Openshift web console..
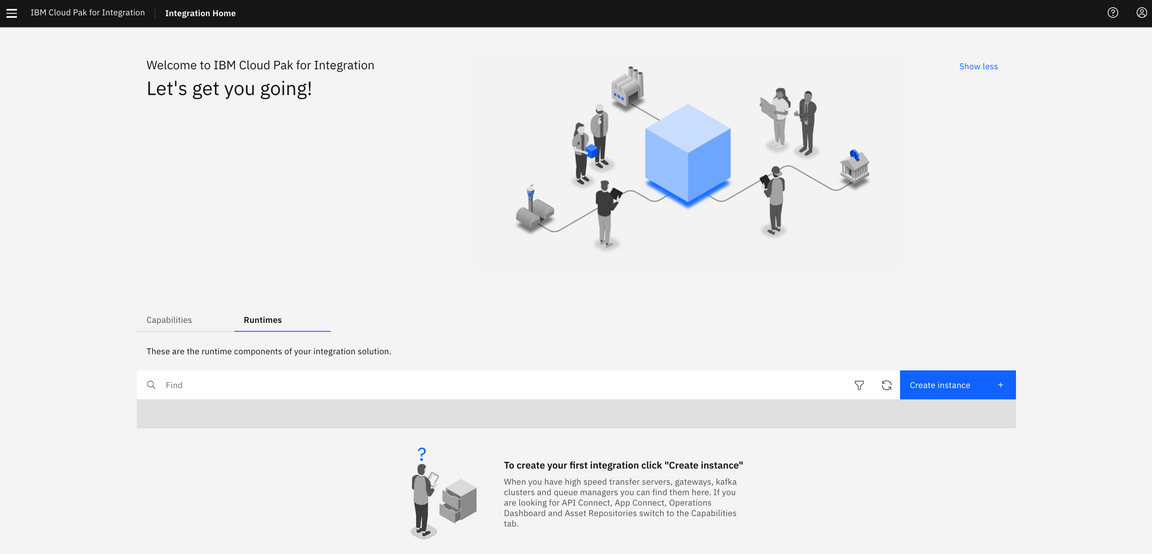
Make sure you subscribe to the capabilities from Operator Hub prior to creating instances, otherwise you will see a message similar to below.

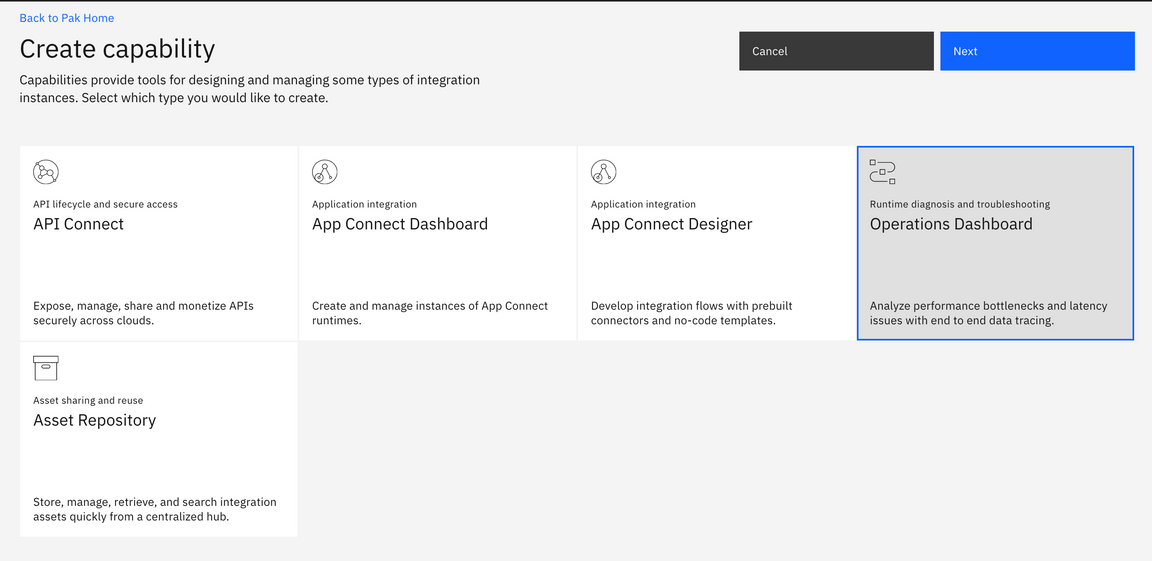
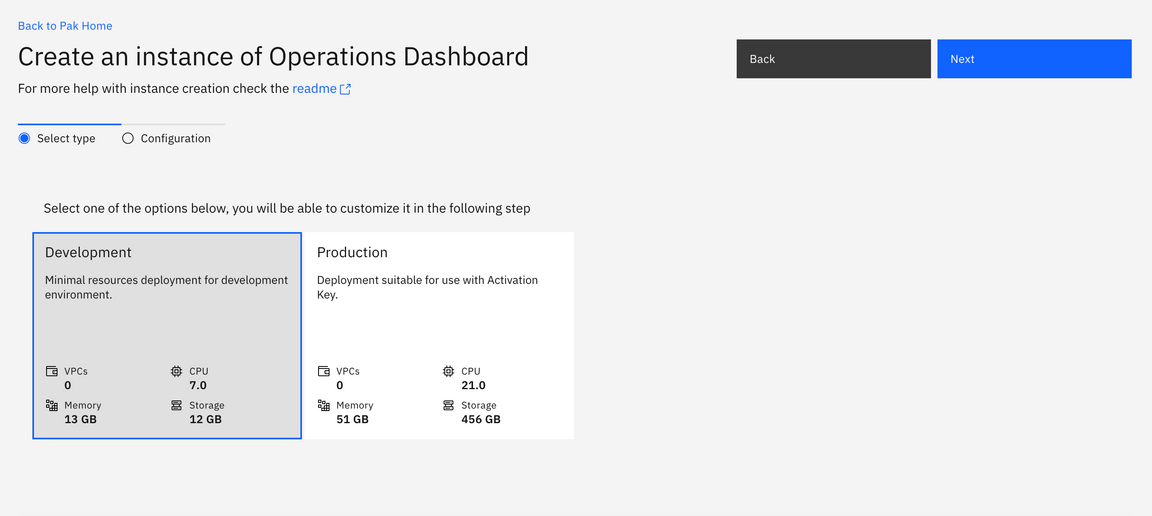
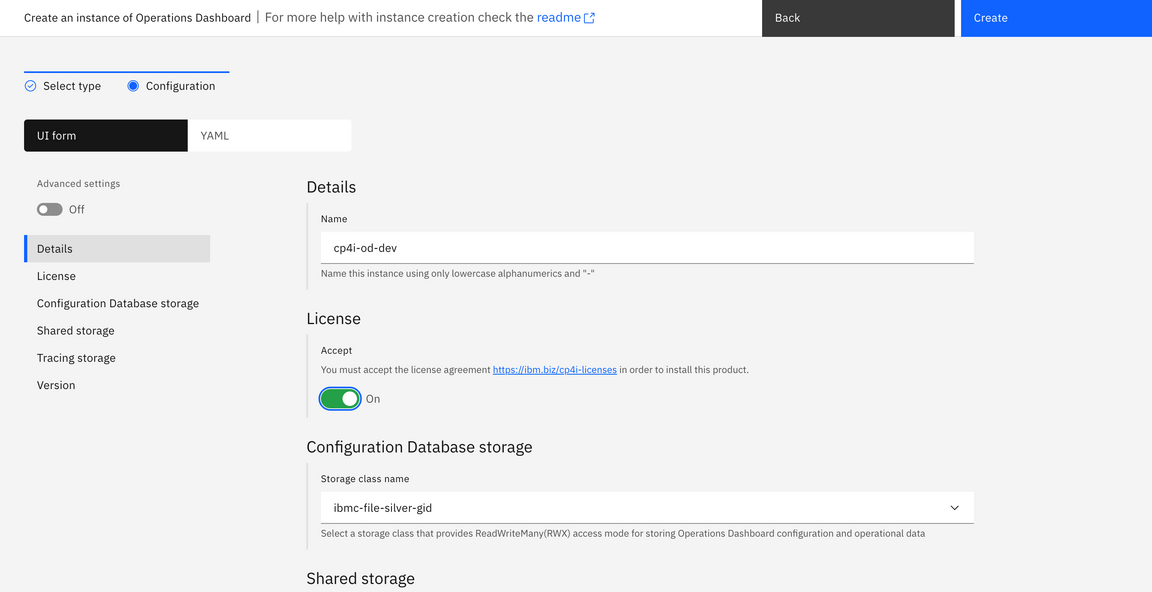
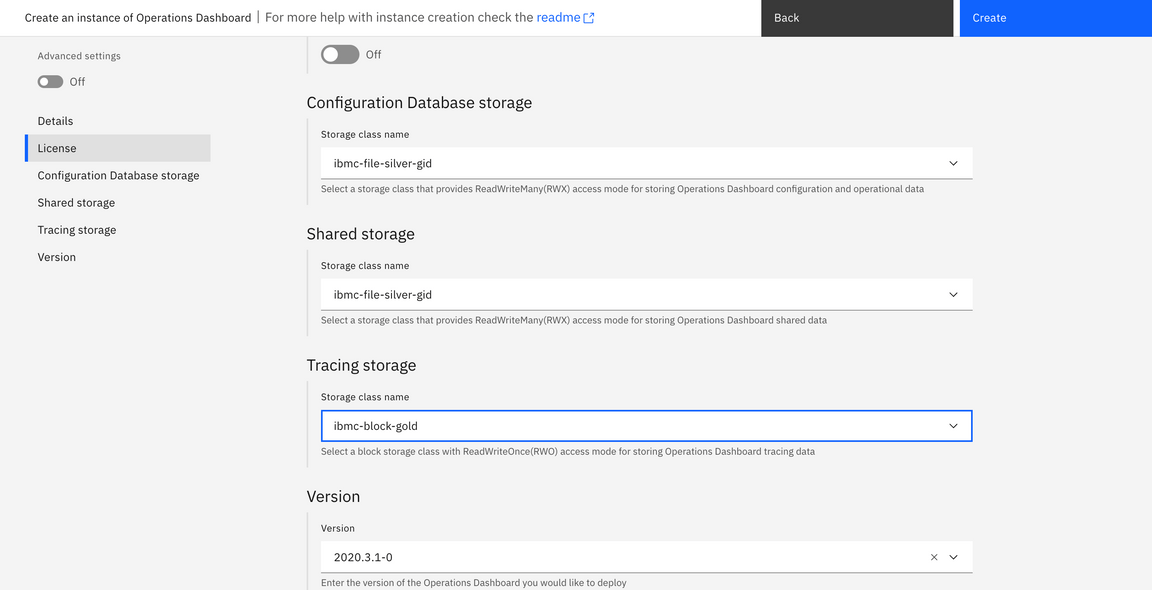
Add Operations Dashboard capability
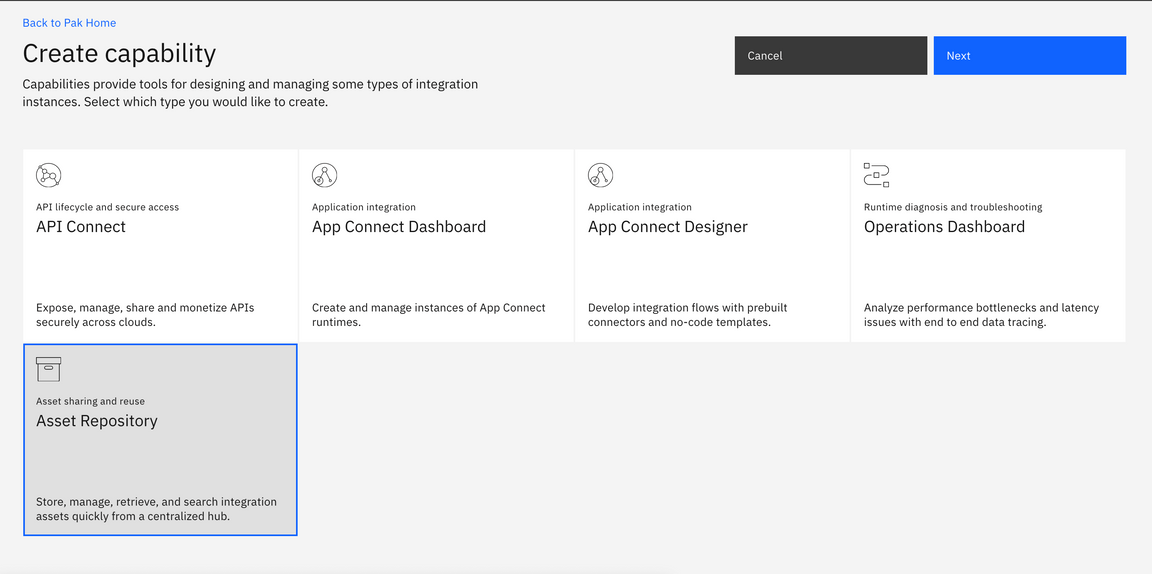
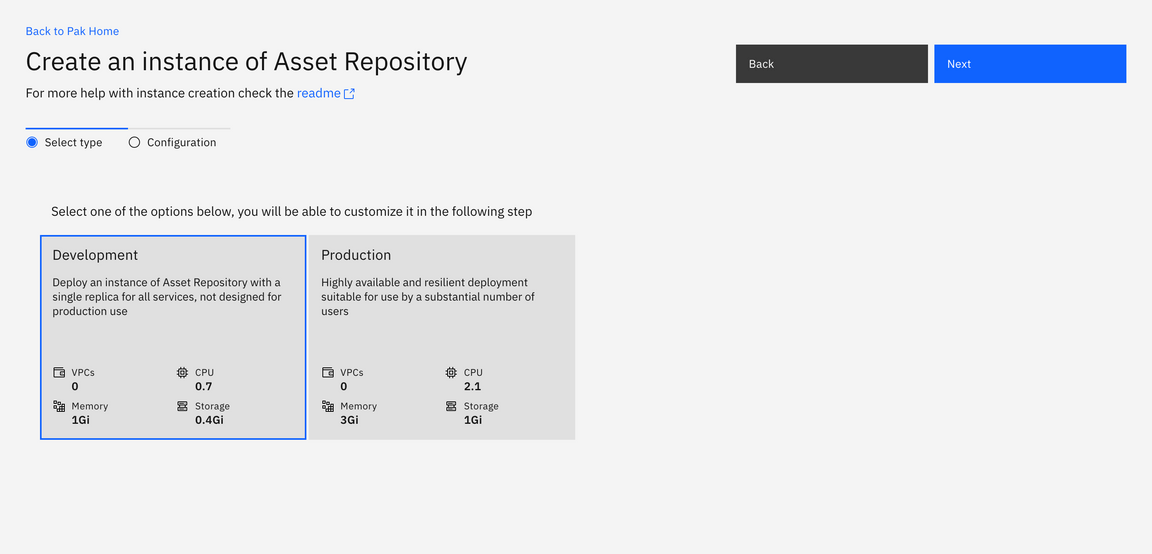
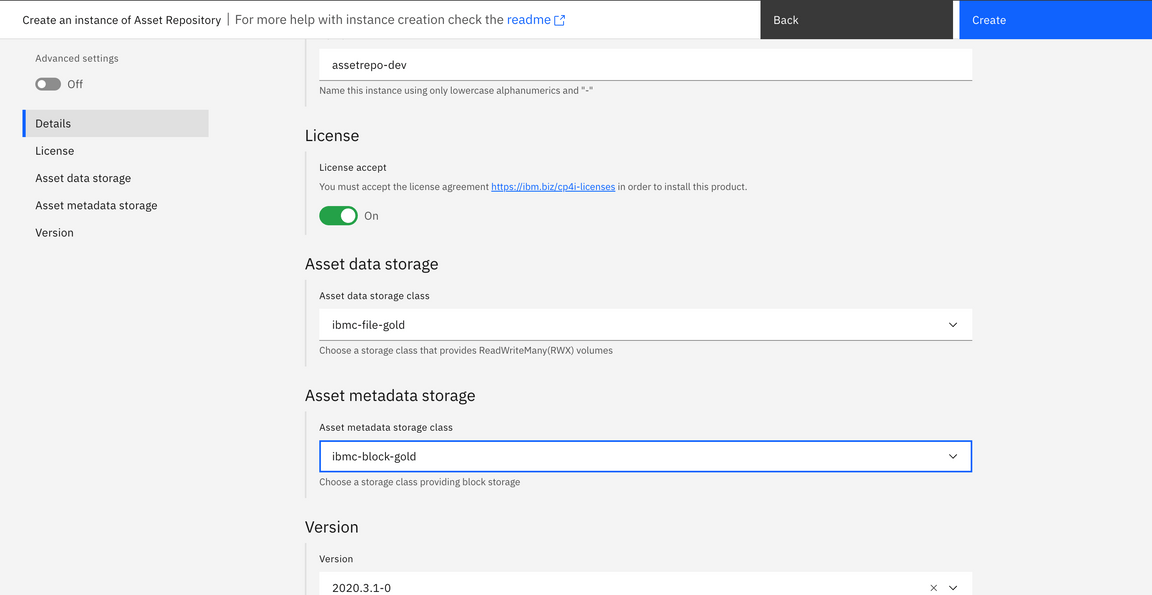
Add Asset Repository capability
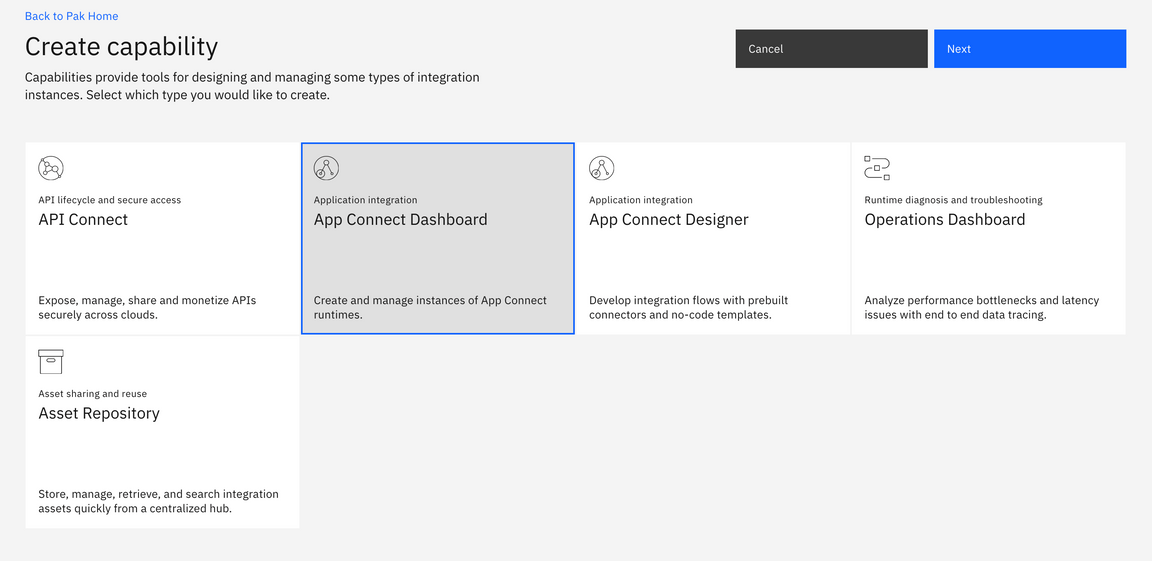
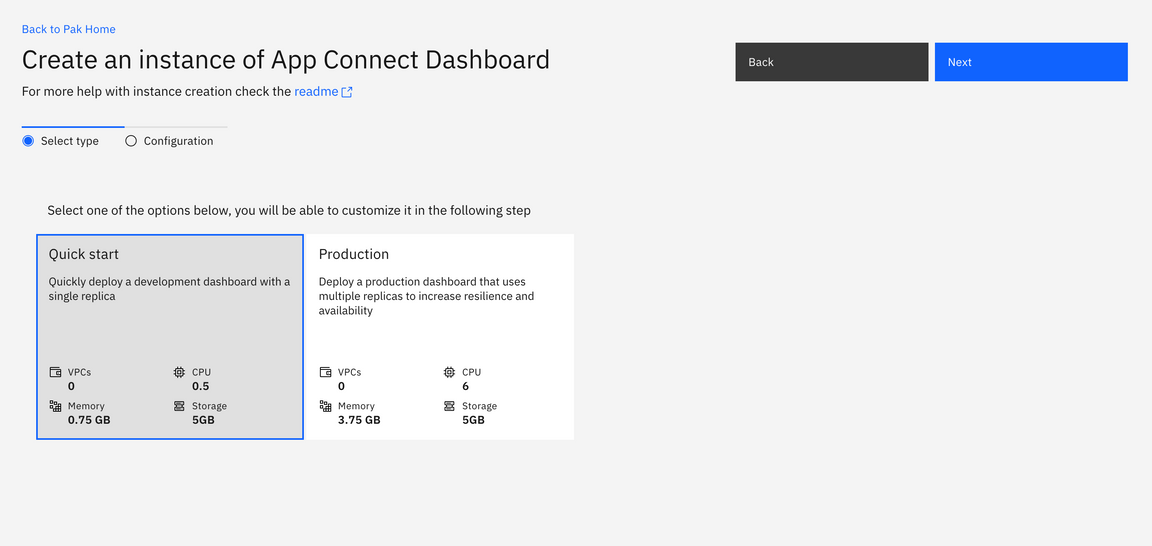
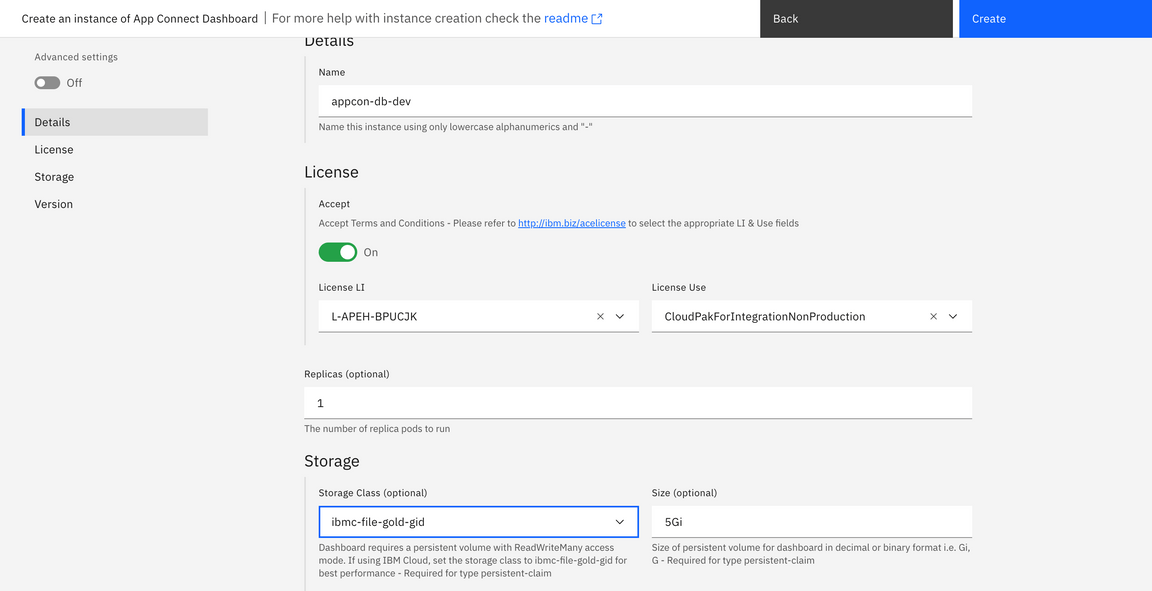
Add App Connect Dashboard capability
Add AppConnect Designer capability
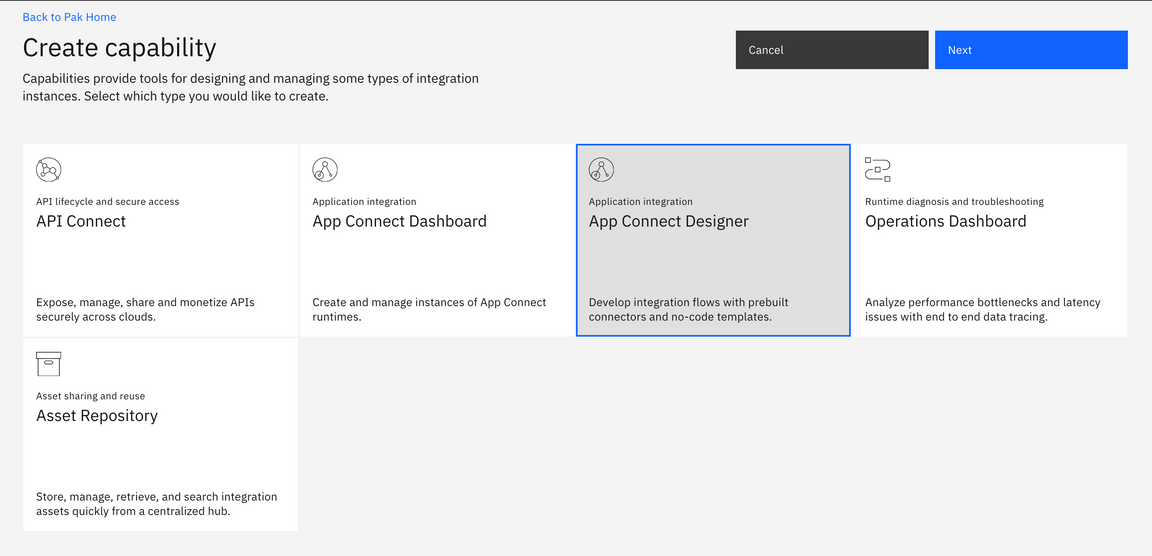
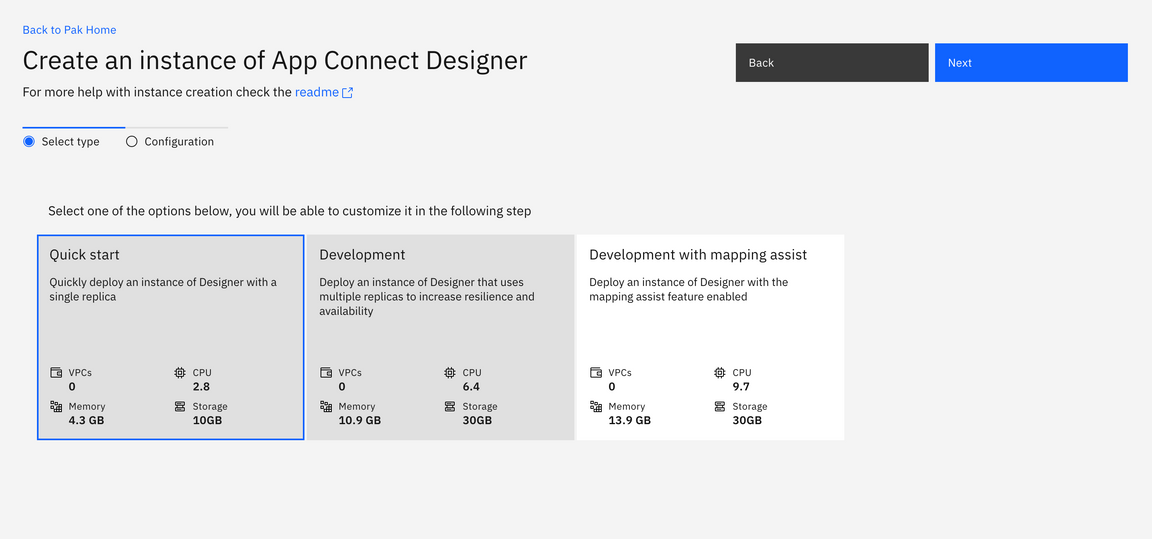
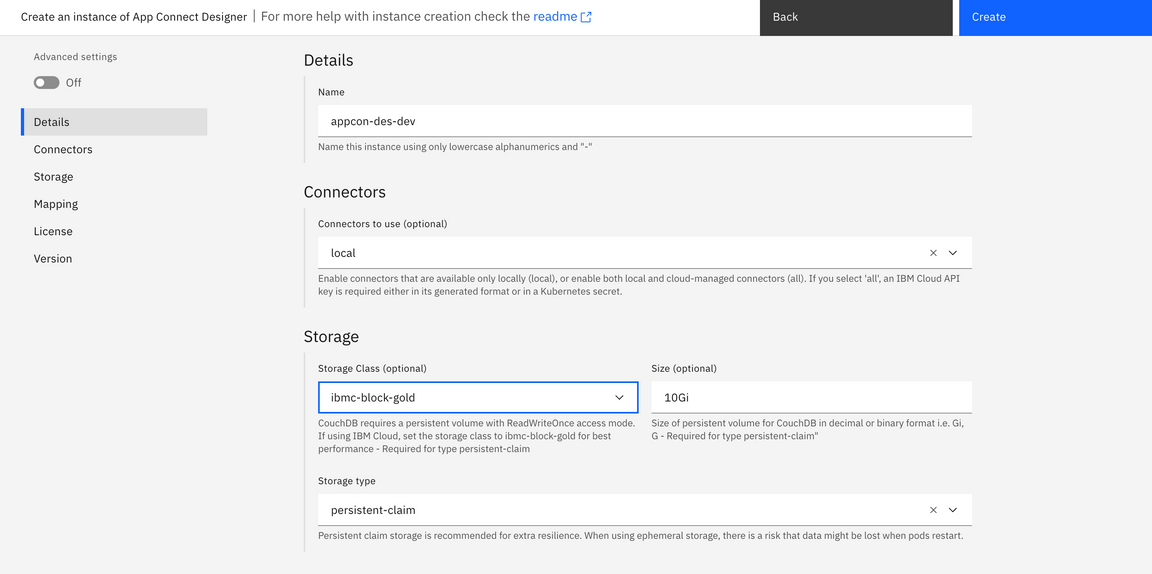
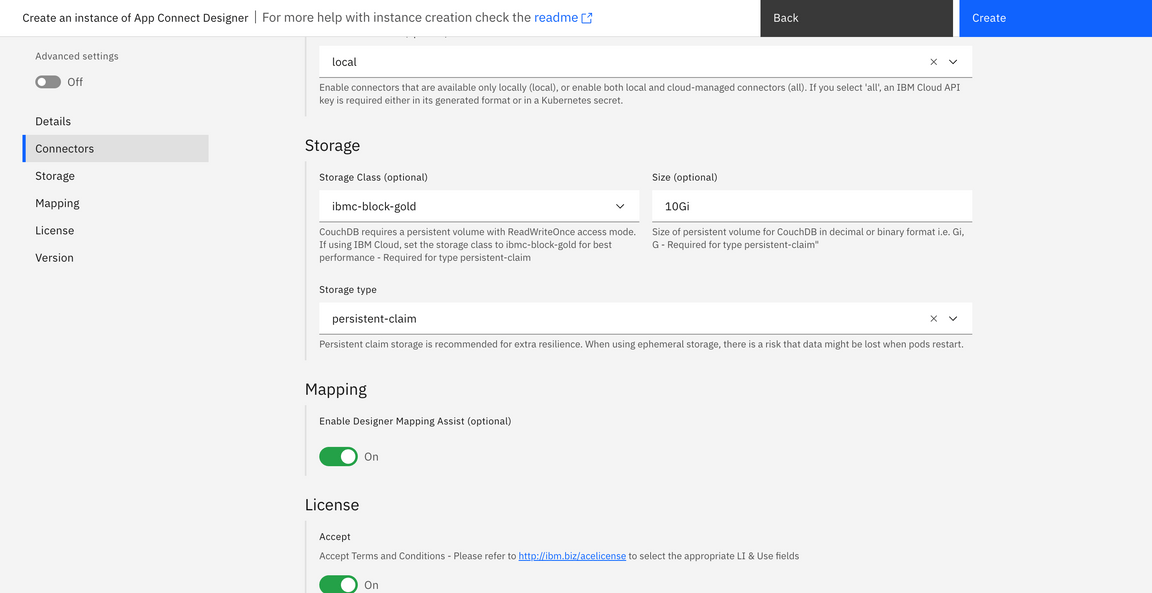
Add API Connect capability
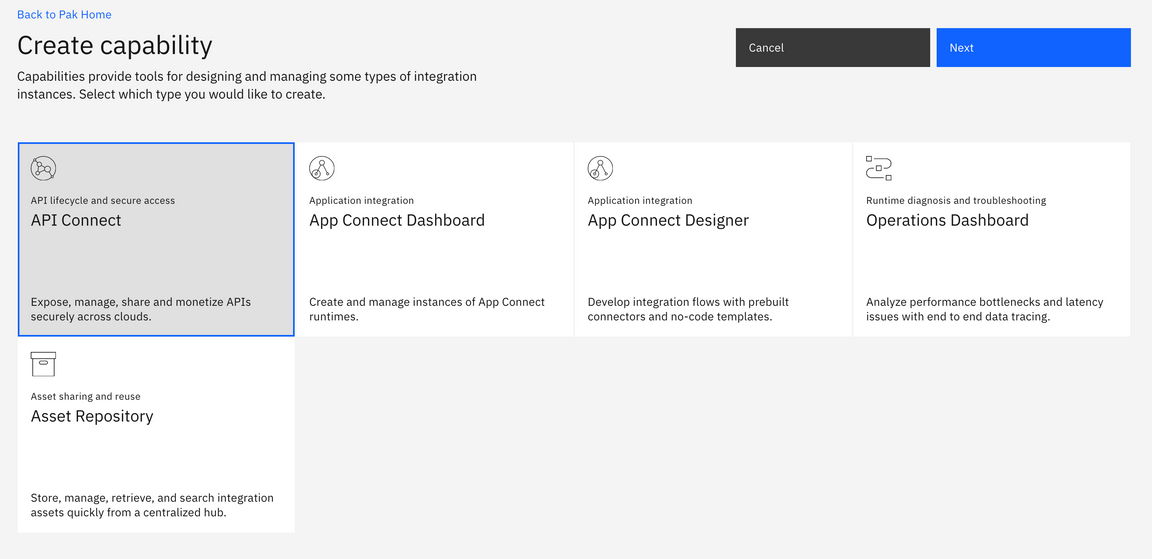
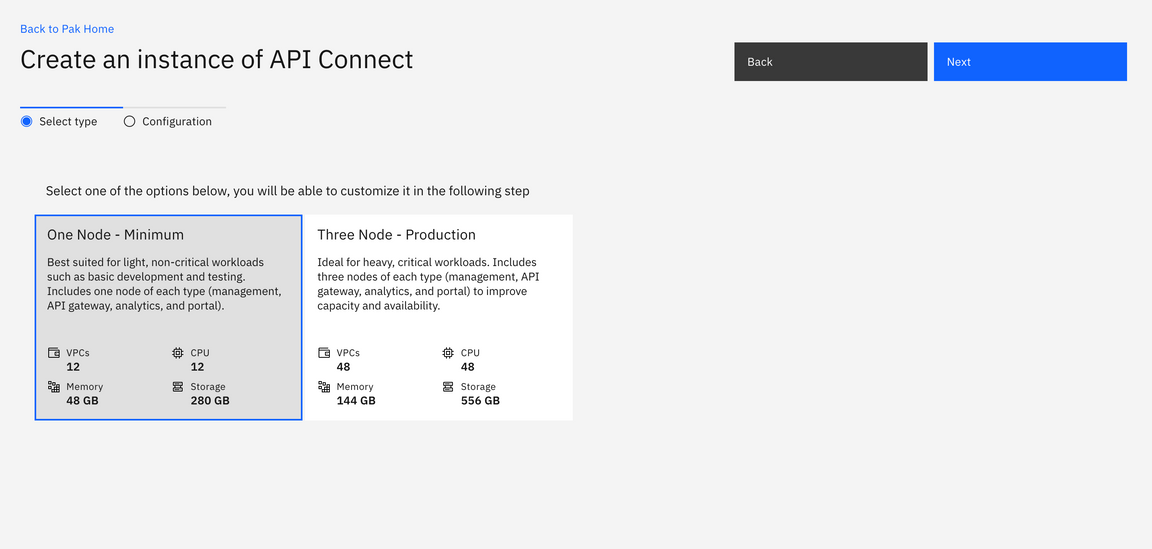
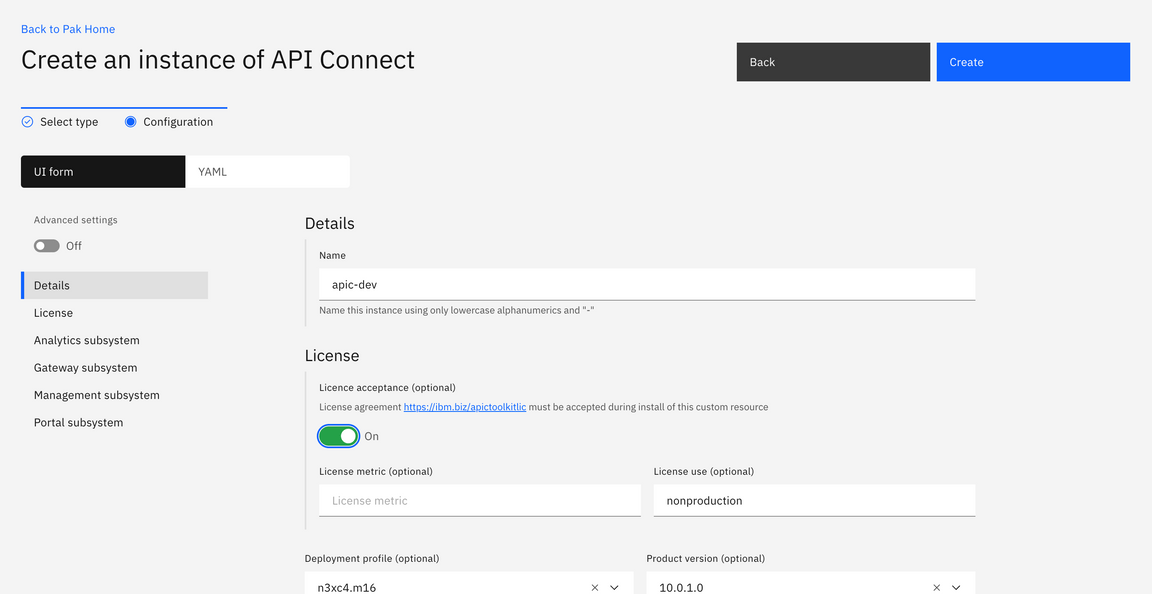
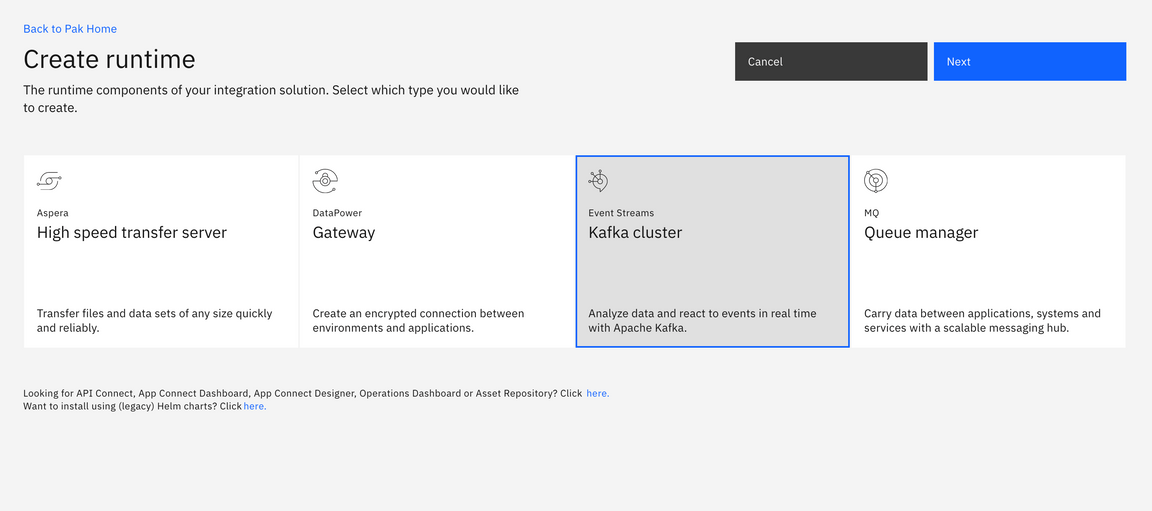
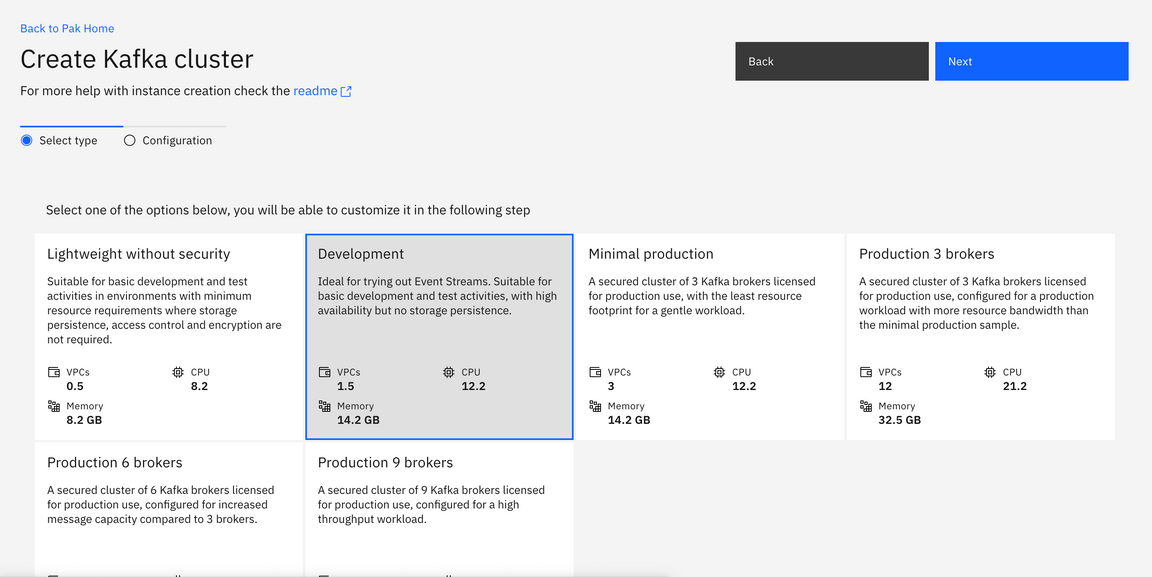
Select Runtimes tab and add EventStreams runtime by selecting Kafka cluster
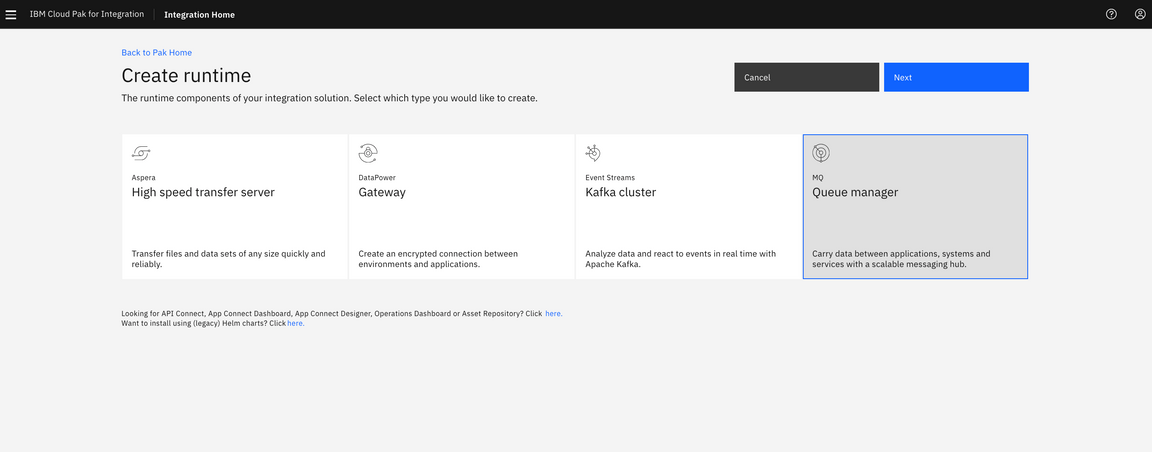
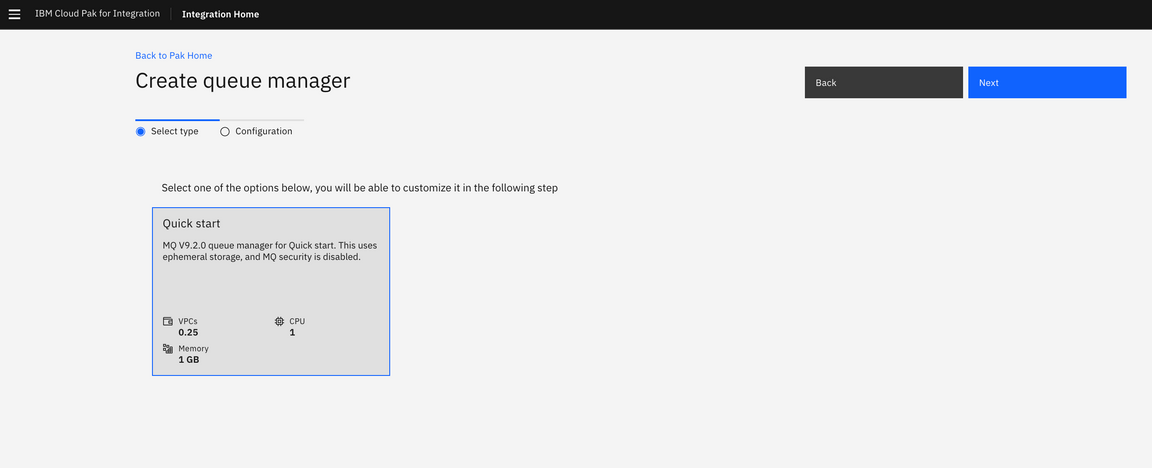
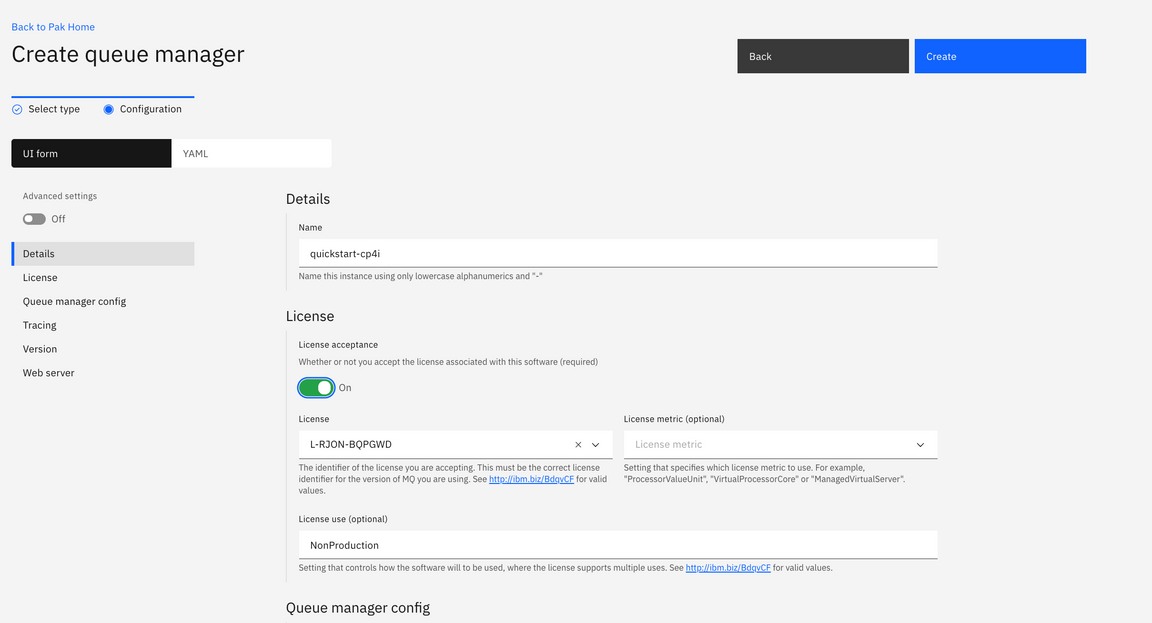
Add an MQ Queue Manager runtime. Select Availability type, Tracing, Persistence as needed. Choose default values for quick installation.
Add highspeed file transfer capability
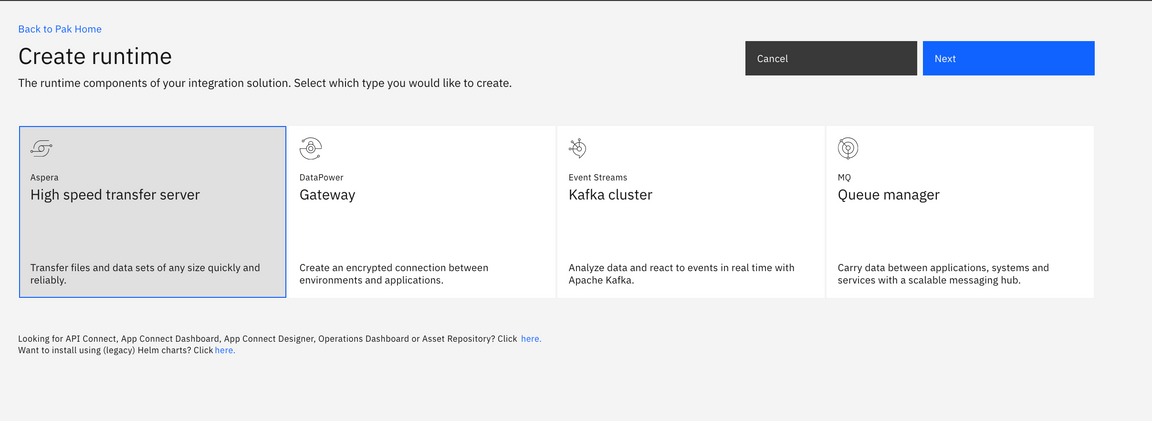
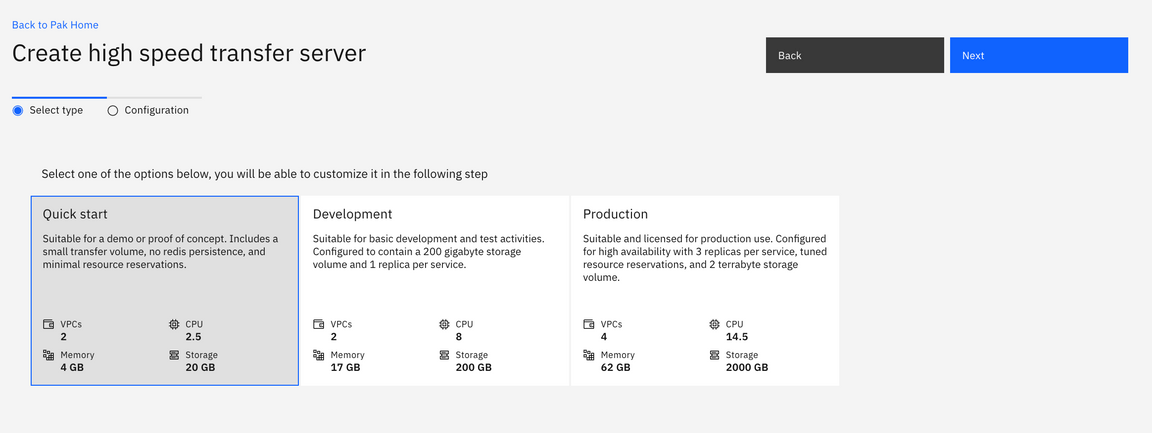
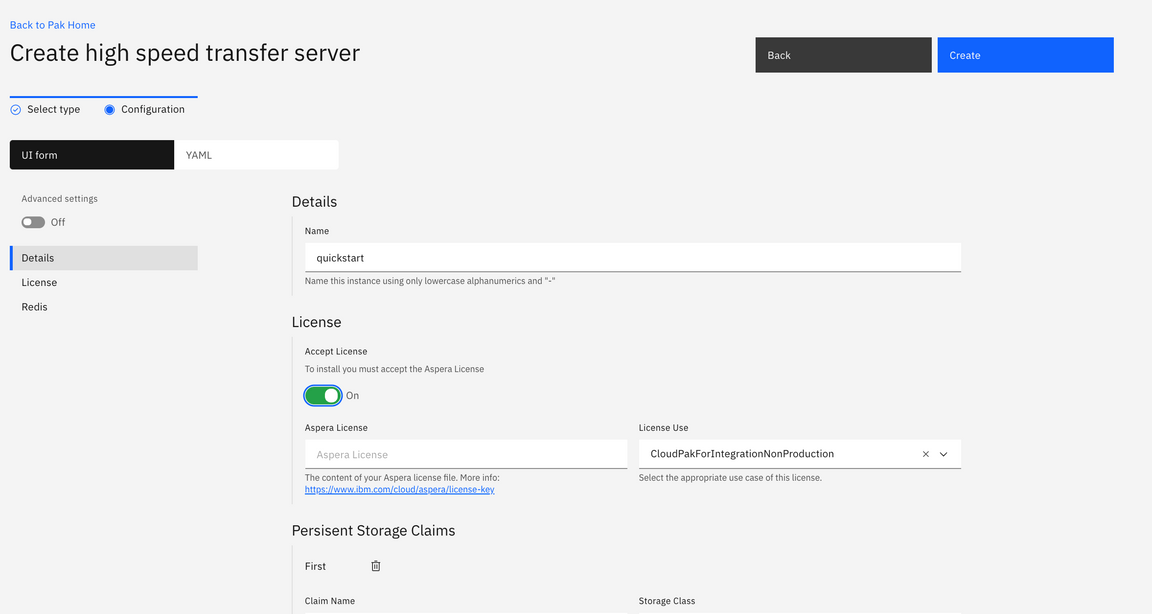
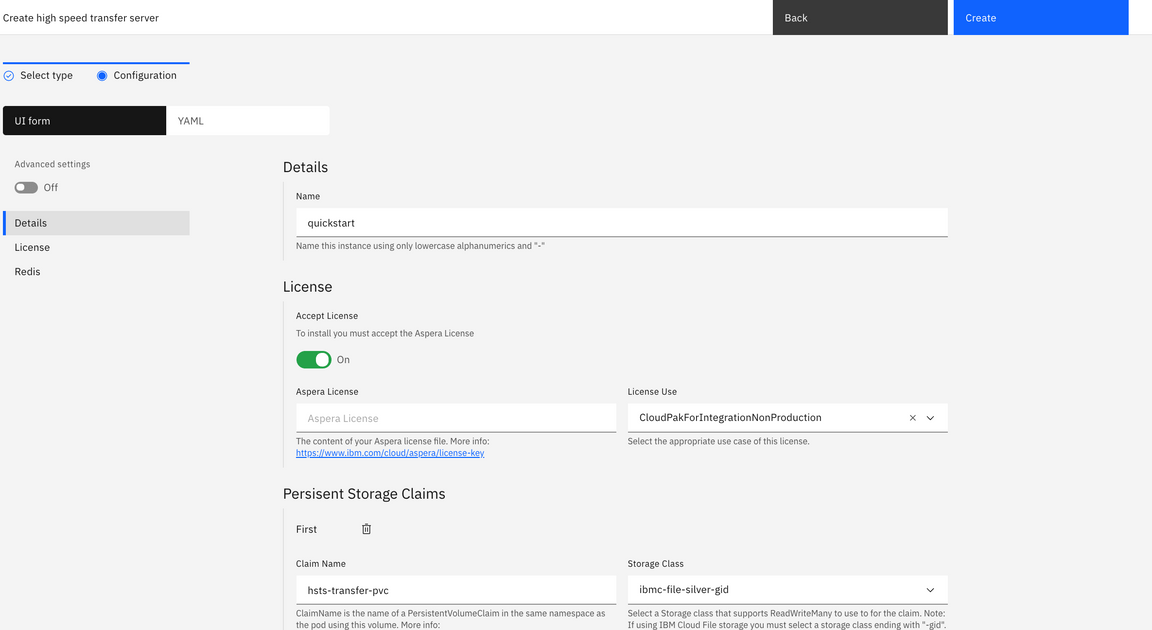
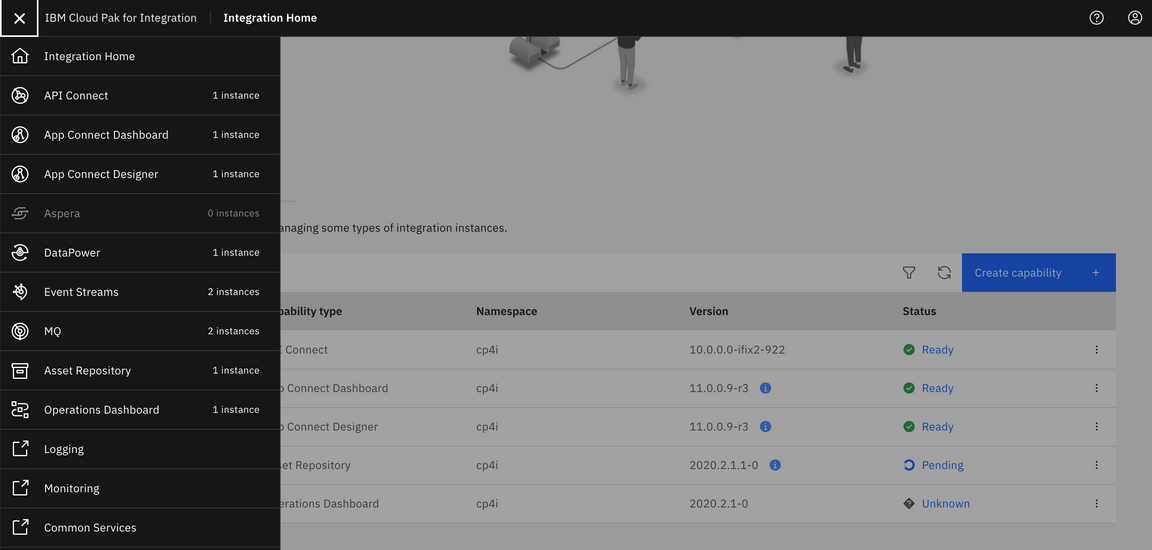
When all the capabilities and runtimes are installed, the Cloud Pak web console menu displays the instances (the name of you instances may be different from what is shown here).
Post installation steps
The following additional steps are needed after deploying all the capabilities.
If you enabled Tracing capabilities for API Connect and MQ, capabilities must be registered from Operations Dashbard Setting tab. Follow the instructions from here.
Setup notification, create provider organization, add catalogs and portal server as API admin.
Manage authentication and security by creating user registries to control access to API Connect
Setup notifications by adding an SMTP server
Create provider organizations to manage teams that develop and manage APIs and related assets
You have successfully installed and deployed Cloud Pak for Integration capabilities!!